In the dynamic world of Dota 2, one thing remains constant: vision control reigns supreme. With every patch update, opportunities arise to fine-tune strategies, and none are more impactful than mastering the art of warding. Recently, renowned guide creator Adrian shared an insightful video on his YouTube channel, highlighting innovative warding techniques from professional players in DreamLeague S25. At PC Gamer, we’ve delved into these placements, dissecting their strategic value and suggesting alternatives to enhance your gameplay.
As the Dota 2 community adjusts to the latest patch changes, top-tier teams are pushing the limits of Observer ward usage. These aren’t random placements; they’re meticulously chosen spots designed to maximize utility while minimizing detection risks. Below, we present 16 groundbreaking ward locations currently employed by elite players, complete with thorough analysis and alternative options.
Table of Contents
Mid Lane Jungle Extension
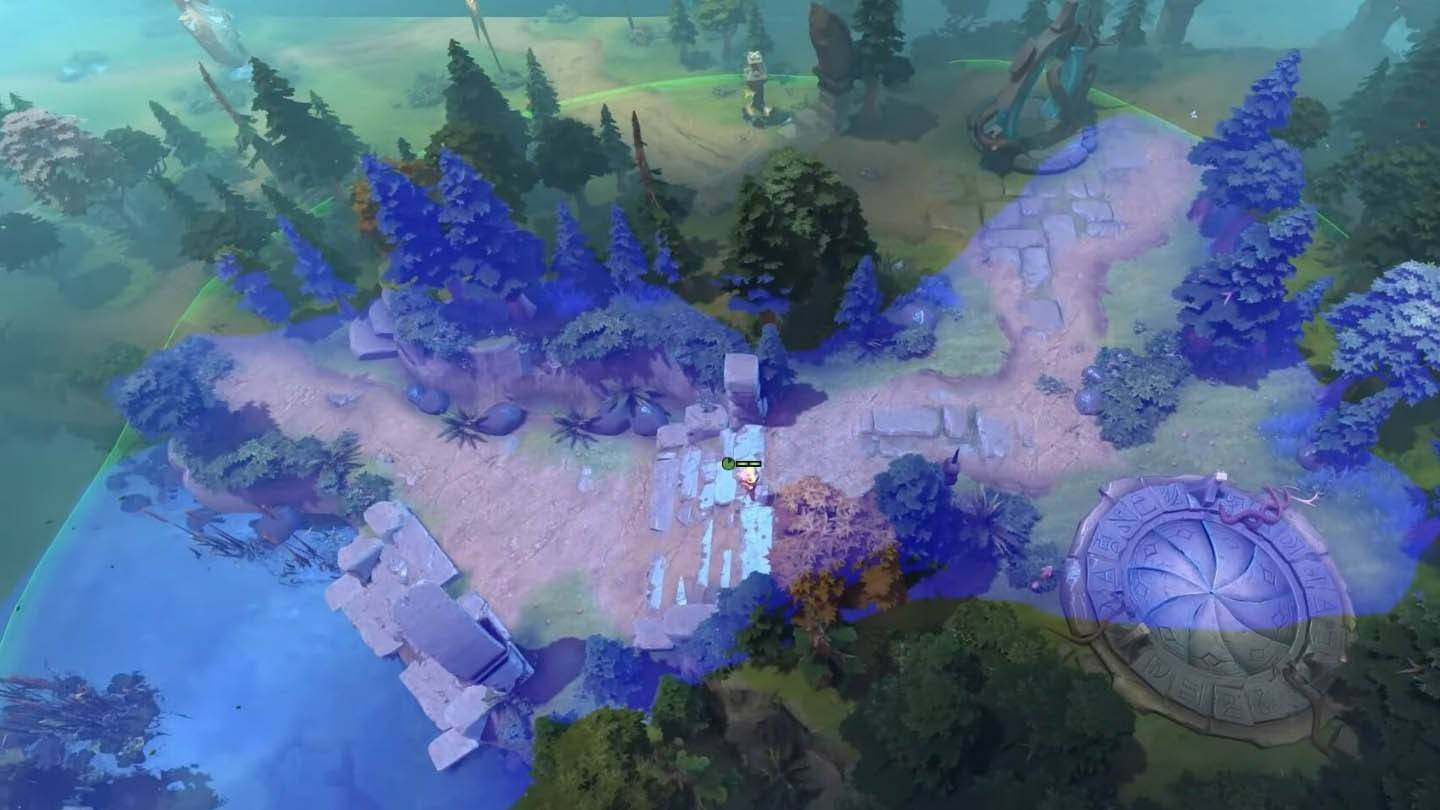
Image: ensigame.com
Positioned slightly deeper than traditional mid lane jungle wards, this placement grants unmatched vision over key areas early in the game. It helps secure runes and provides vital insights into enemy movements through the jungle.
Alternative: A slight shift toward the Radiant side can offer additional coverage over the secret shop approach.
Radiant Ancient Riverbank
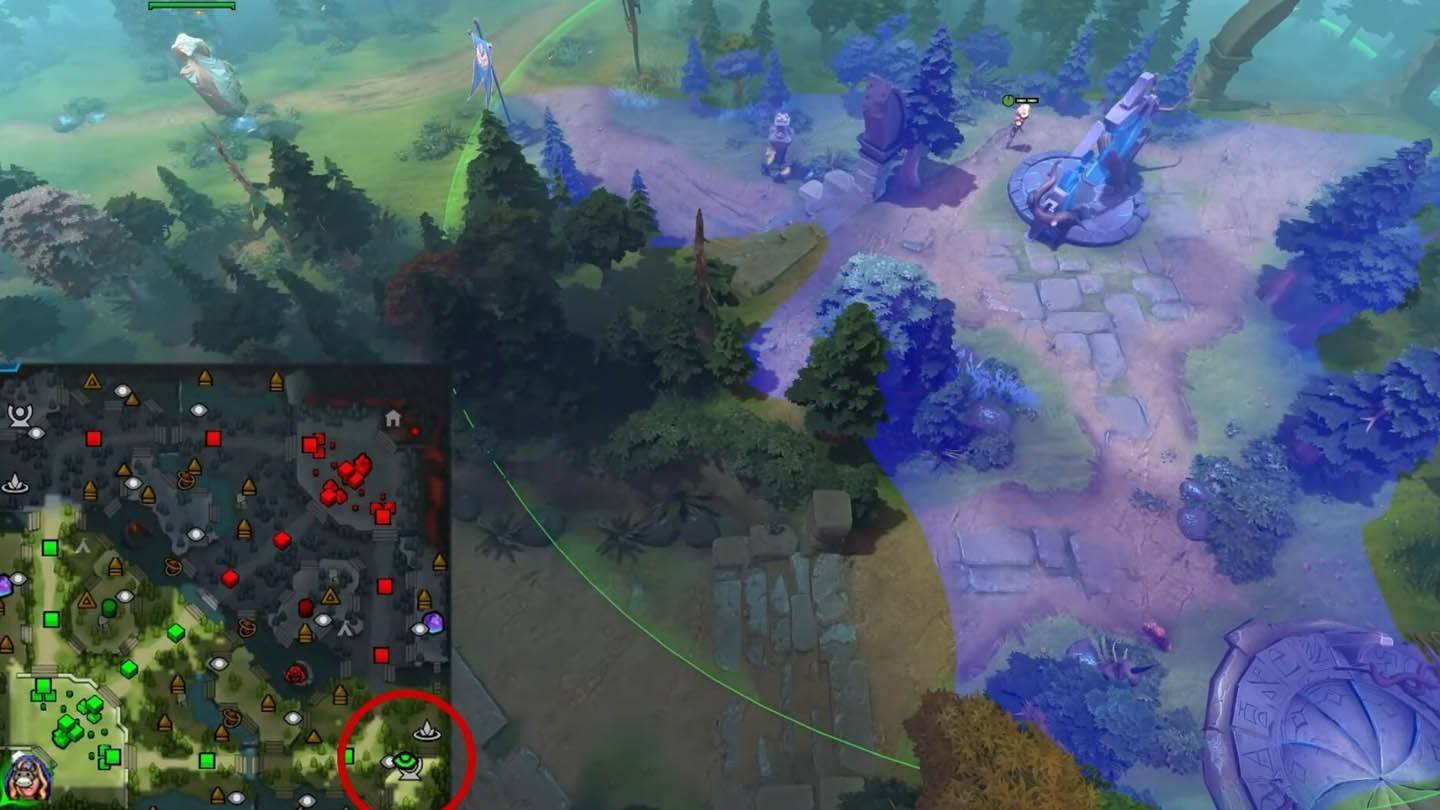
Image: ensigame.com
This cleverly placed ward offers deep vision into the Radiant's base from an unexpected angle. Its unconventional positioning makes it harder for enemies to detect and destroy, ensuring prolonged effectiveness.
Bonus Tip: Pairing this with a Sentry ward nearby creates a formidable defensive setup.
Dire Top Tier 2 Bushes
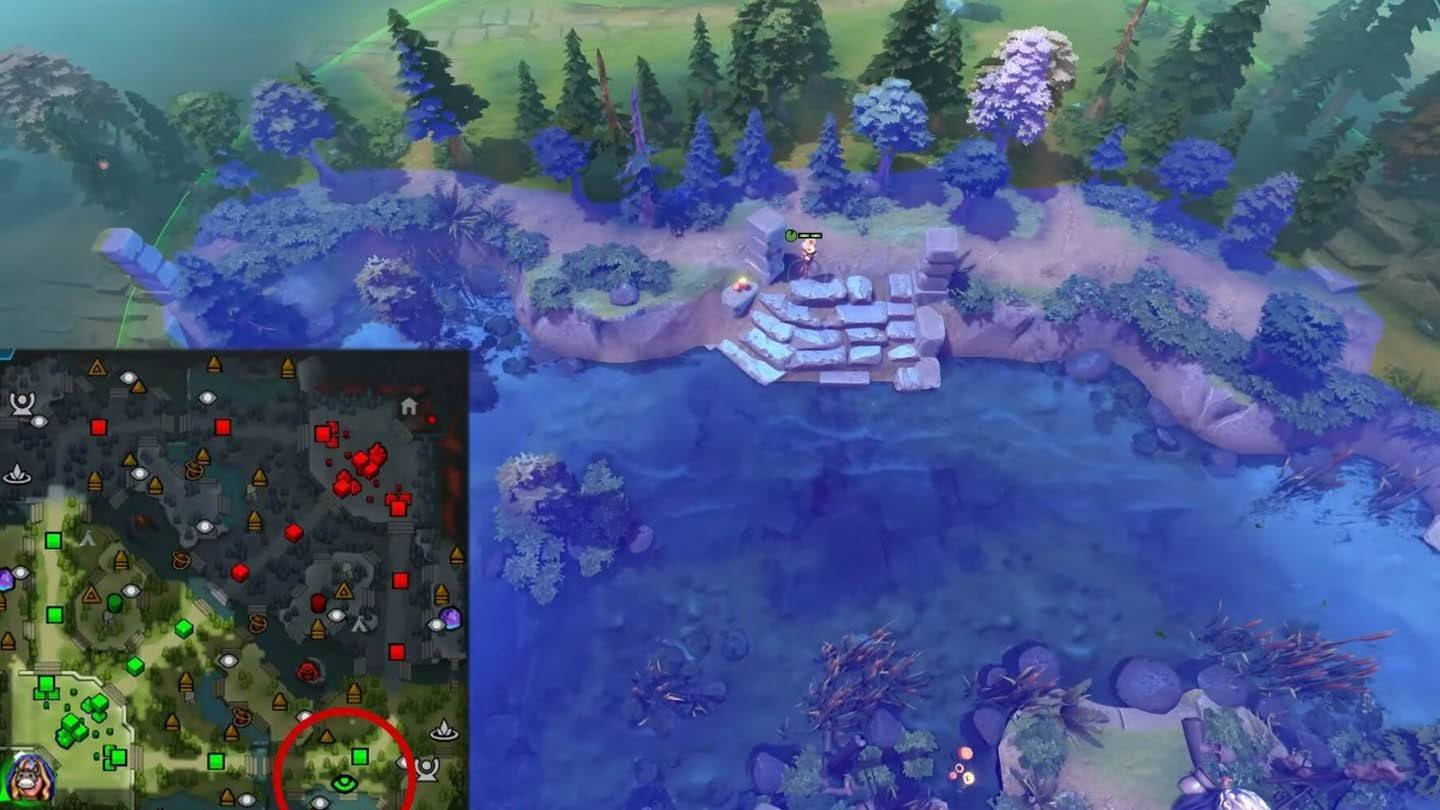
Image: ensigame.com
By revealing critical areas around the Dire's second tier towers, this ward aids both defense and offensive positioning. It's especially effective during teamfights near these structures.
Pro Tip: Periodically rotate this ward to avoid predictable patterns.
Radiant Bottom Secret Shop Monitor
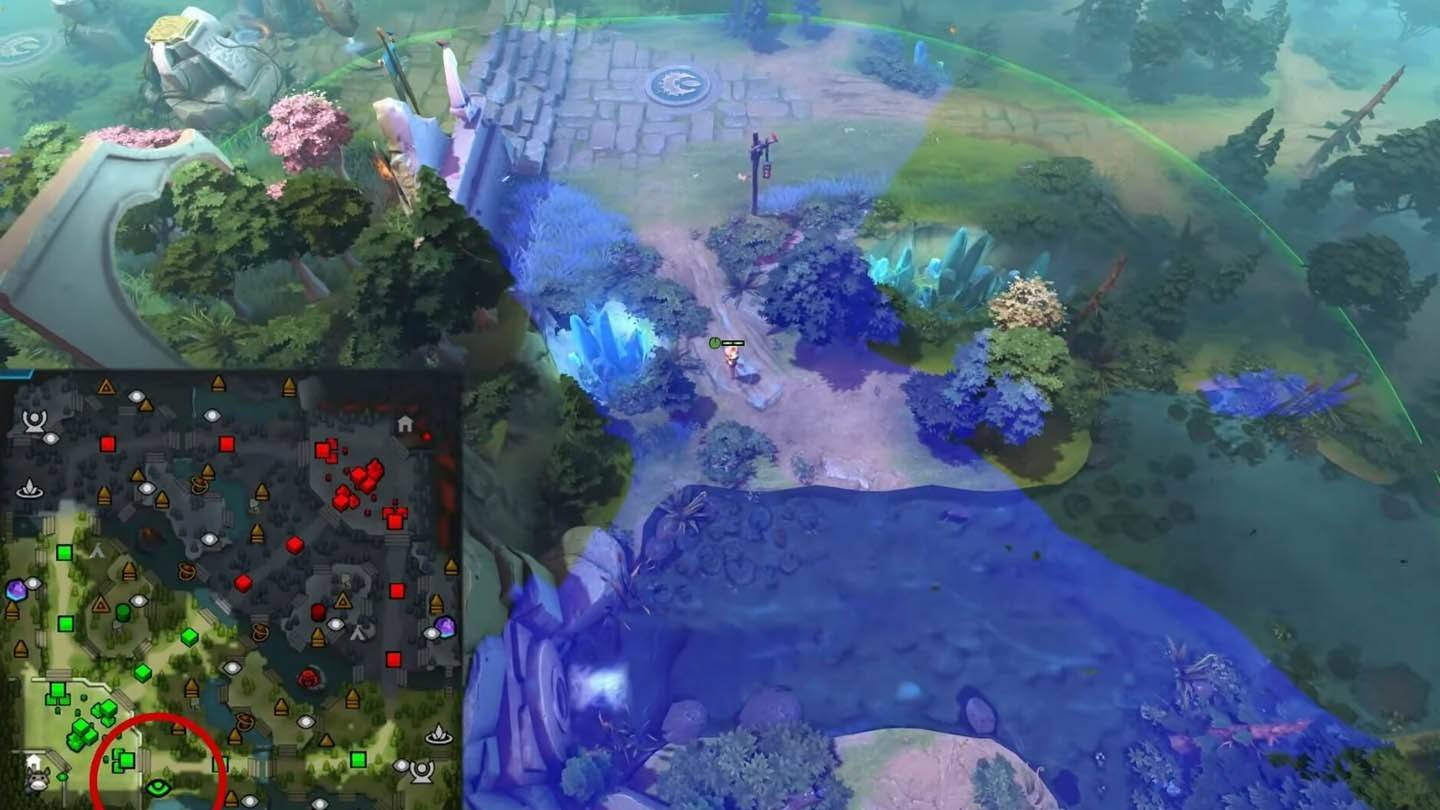
Image: ensigame.com
This placement allows you to monitor enemy heroes using the secret shop, providing valuable information about item purchases and timing.
Advanced Strategy: Combine this with vision denial wards to disrupt potential buybacks.
Dire Bottom Tier 2 Fog Corner
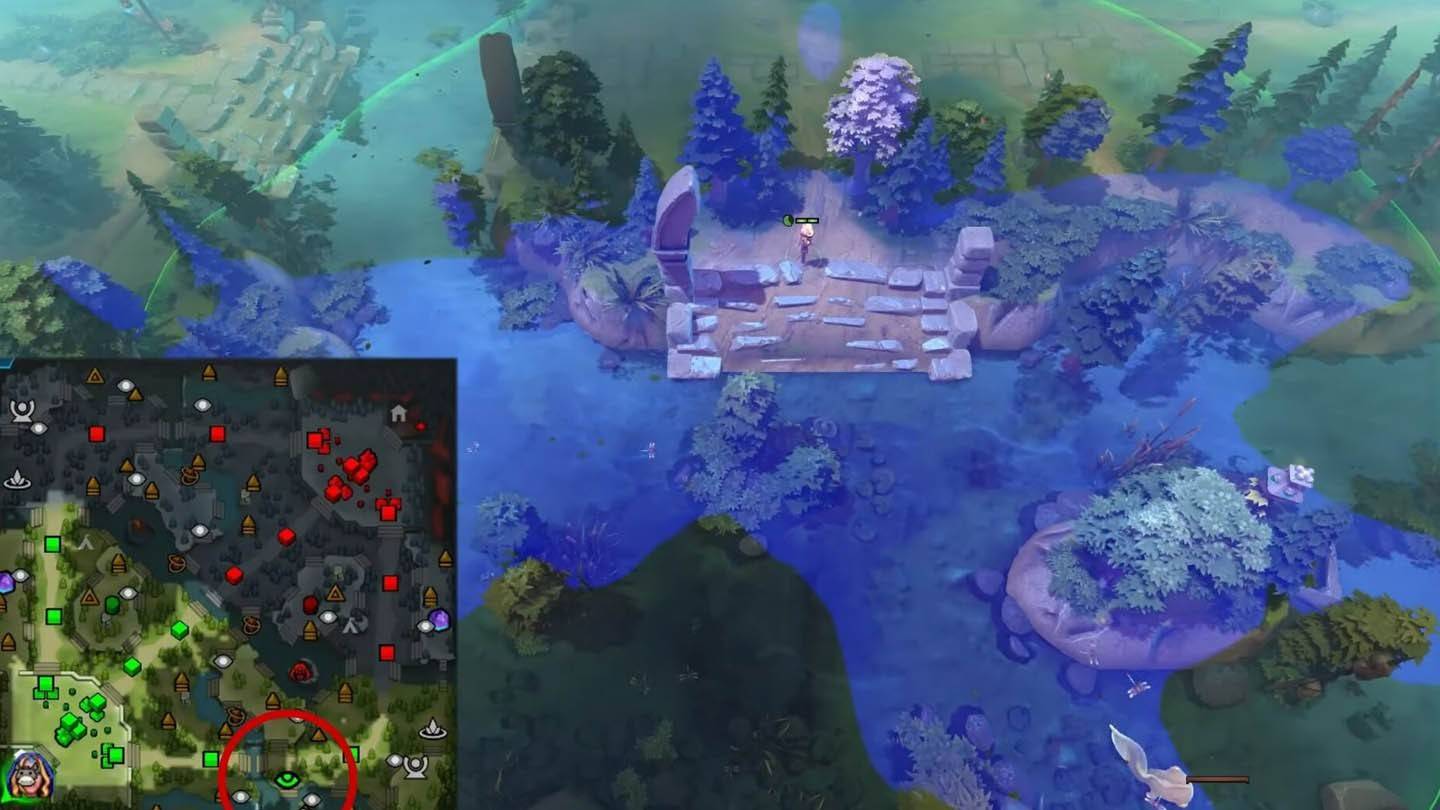
Image: ensigame.com
Giving vision into foggy areas near the Dire's bottom tier two tower, this ward assists in setting up ganks and ambushes.
Expert Advice: Use this ward in conjunction with smoke to execute surprise attacks.
Radiant Roshan Pit Entrance
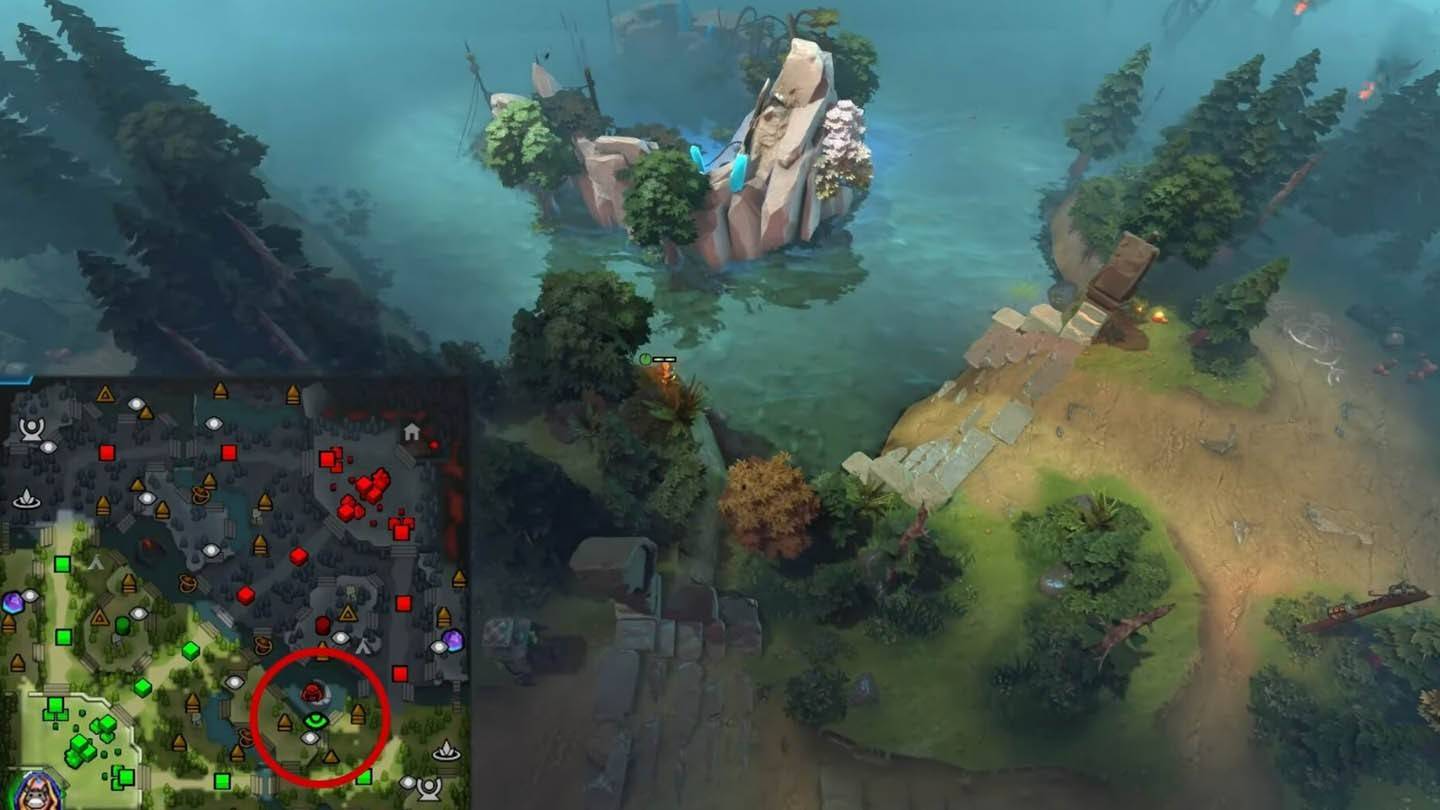
Image: ensigame.com
Enabling early detection of Roshan attempts from the Radiant side, this ward allows timely responses and potential counter-attacks.
Tactical Insight: Rotate this ward frequently to maintain the element of surprise.
Dire Mid Lane High Ground
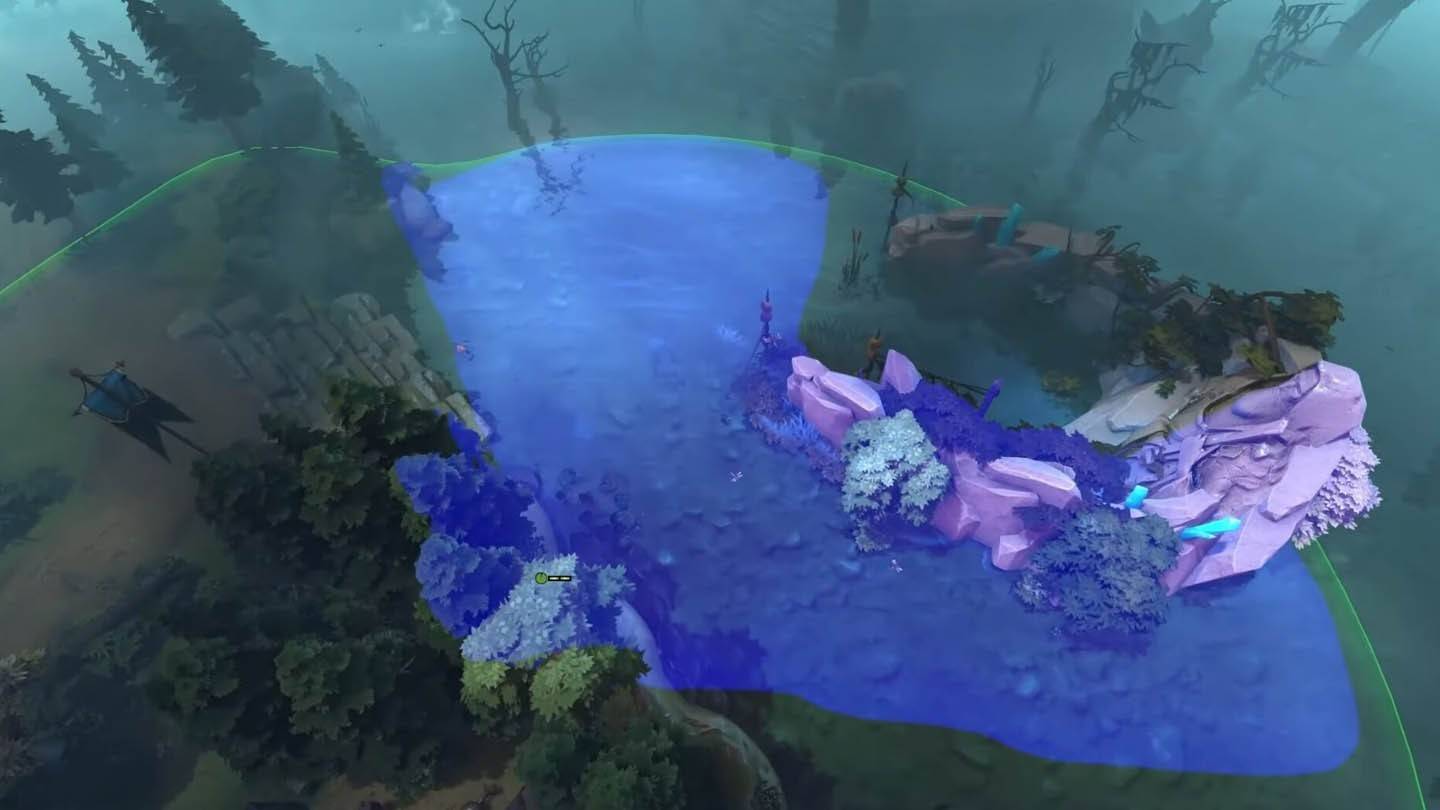
Image: ensigame.com
Offering extended vision along the middle lane high ground, this ward improves awareness of approaching enemies.
Strategic Note: Ideal for controlling the mid lane during crucial moments.
Radiant Top Tier 2 Backdoor Path
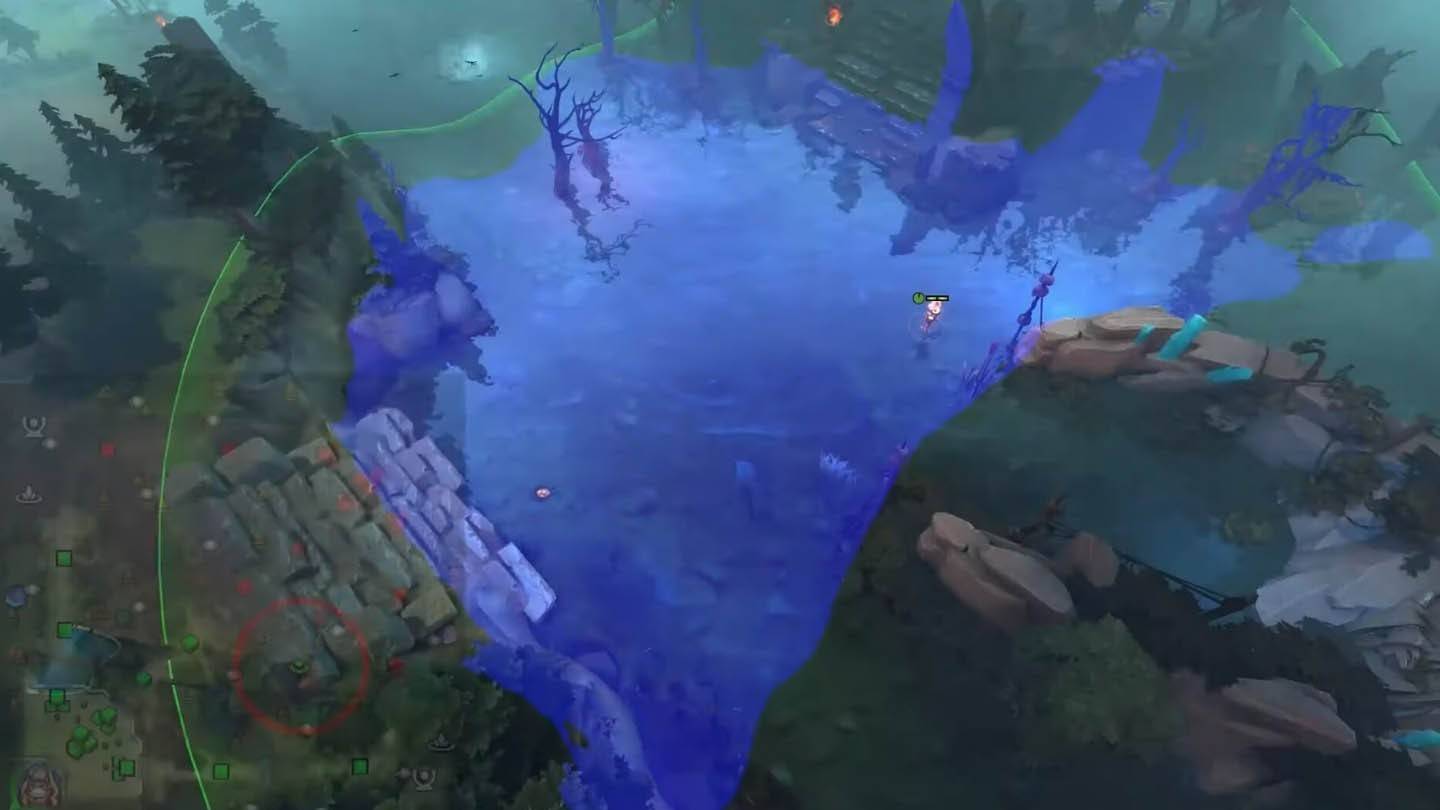
Image: ensigame.com
Monitoring backdoor paths leading to the Radiant's top tier two tower, this ward prevents surprise attacks.
Defensive Tip: Place a Sentry ward nearby to catch sneaky invisible heroes.
Dire Bottom Ancient River Bend
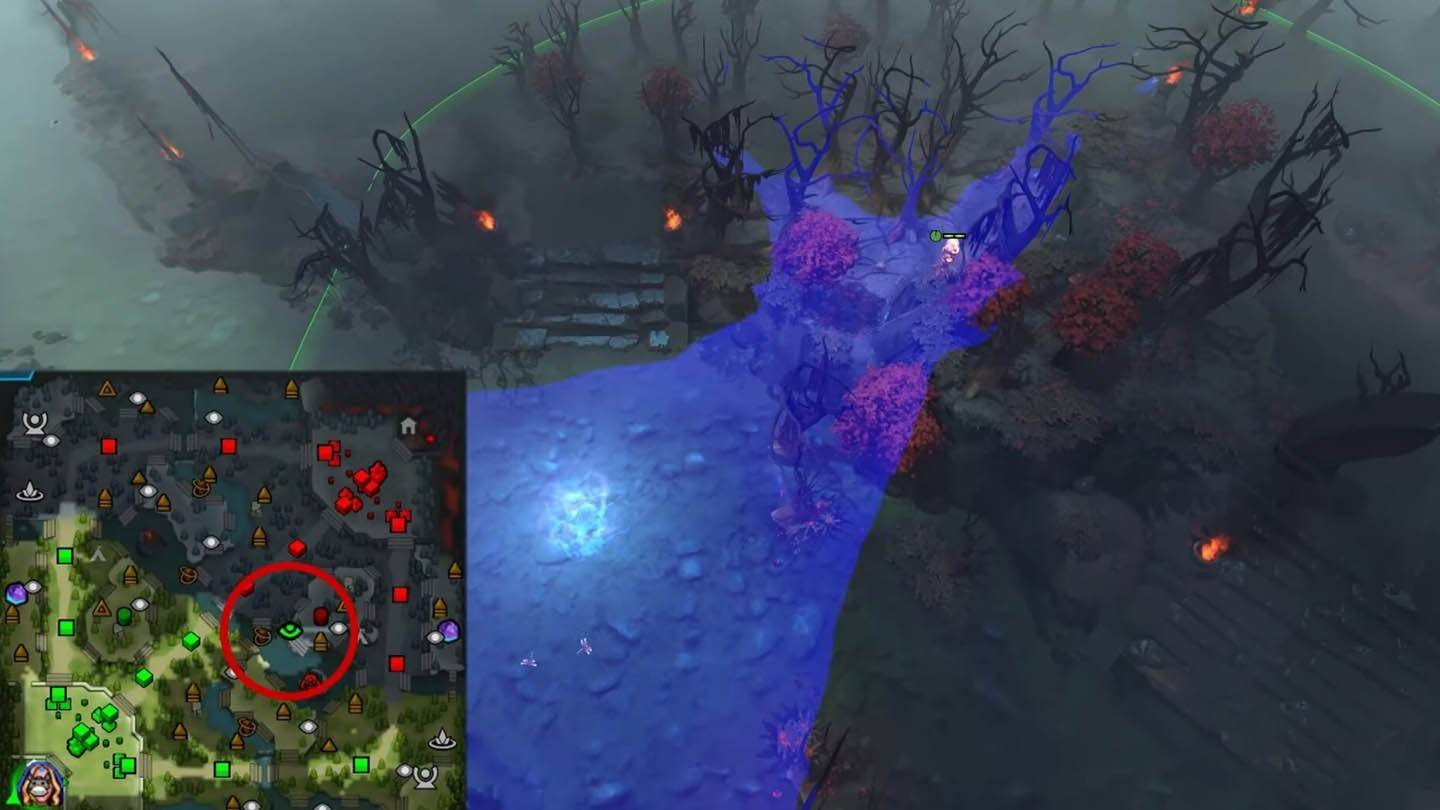
Image: ensigame.com
Providing deep vision into the Dire's base through an unconventional river bend location, this ward exemplifies creative thinking.
Advanced Placement: Experiment with slight adjustments to find optimal coverage.
Radiant Mid Lane Jungle Passage
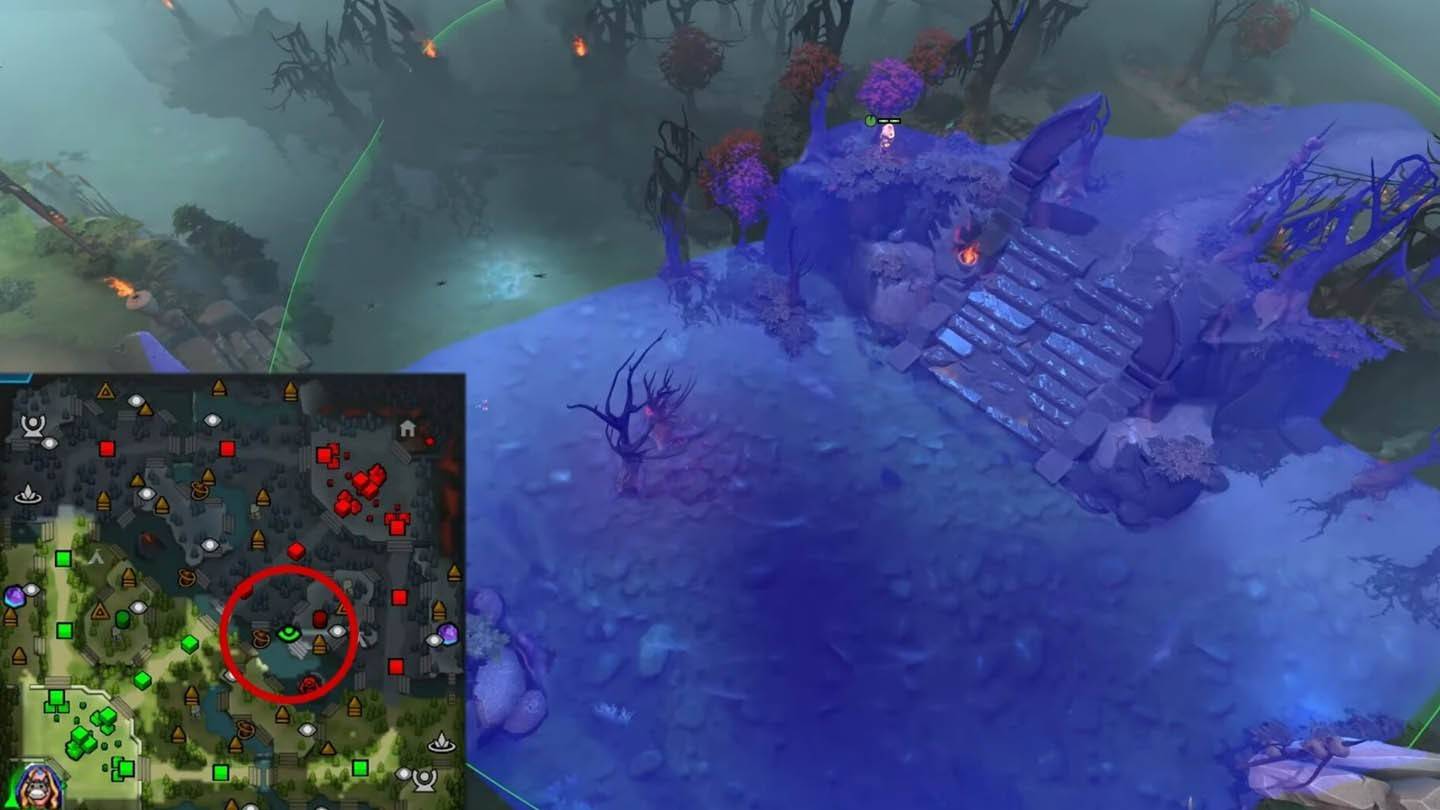
Image: ensigame.com
Revealing key jungle passages adjacent to the mid lane, this ward enhances overall map awareness.
Professional Recommendation: Rotate between different jungle entrances for maximum effect.
Dire Top Secret Shop Approach

Image: ensigame.com
Alerts when enemies are heading towards or leaving the Dire's secret shop area, offering economic intelligence.
Competitive Edge: Use this information to time your pushes effectively.
Radiant Bottom Tier 3 Side Path

Image: ensigame.com
Monitoring side paths leading to the Radiant's bottom tier three tower, this ward warns against flanking maneuvers.
Team Coordination: Share this vision with your team for coordinated responses.
Dire Roshan Pit Exit
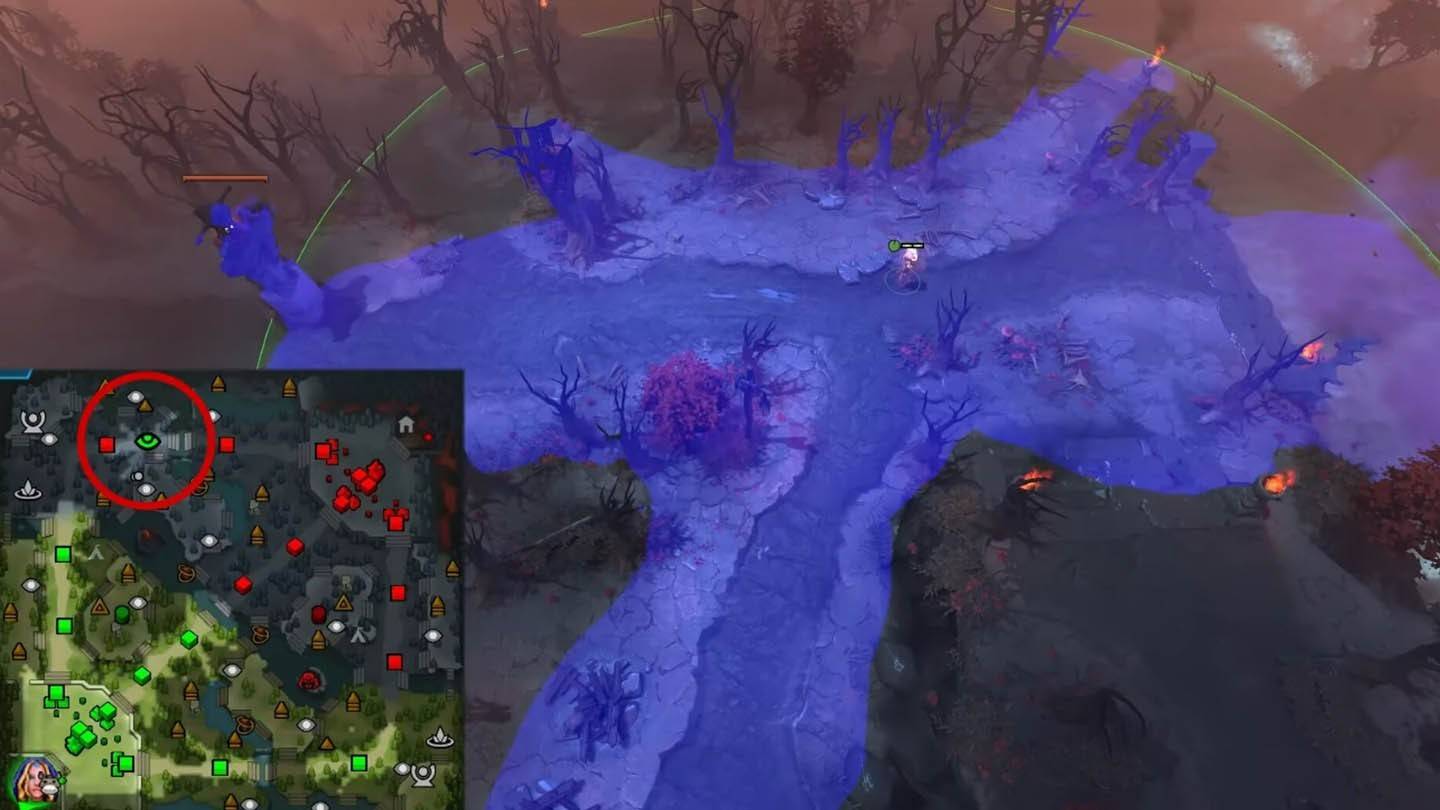
Image: ensigame.com
Detects enemy movements exiting the Roshan pit from the Dire side, facilitating timely reactions.
Strategic Positioning: Essential during late-game Roshan battles.
Radiant Top Ancient Cliffside
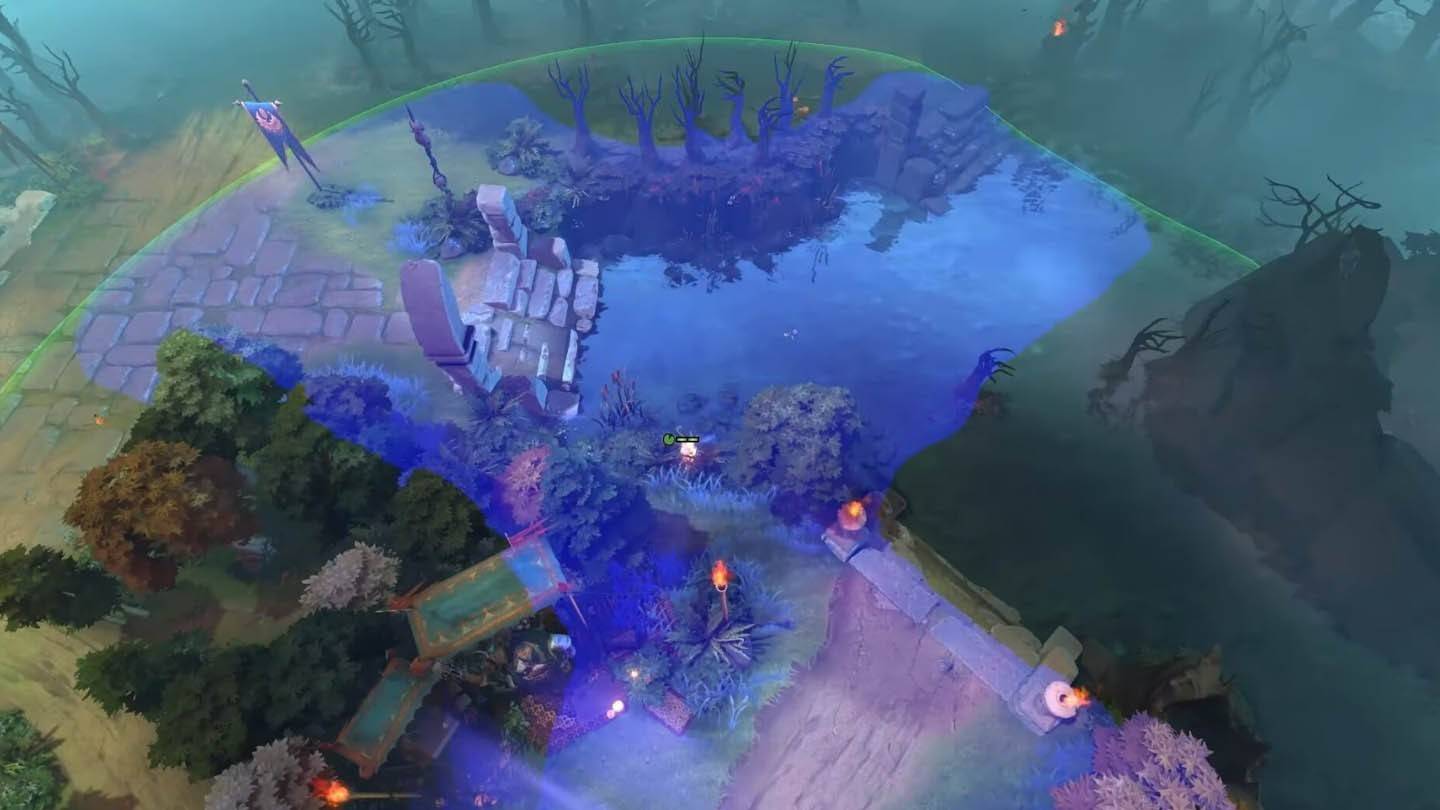
Image: ensigame.com
Offers hidden vision into the Radiant's base from a cliffside vantage point, surprising opponents.
Elite Placement: Requires precise execution for best results.
Dire Mid Lane Jungle Overlook
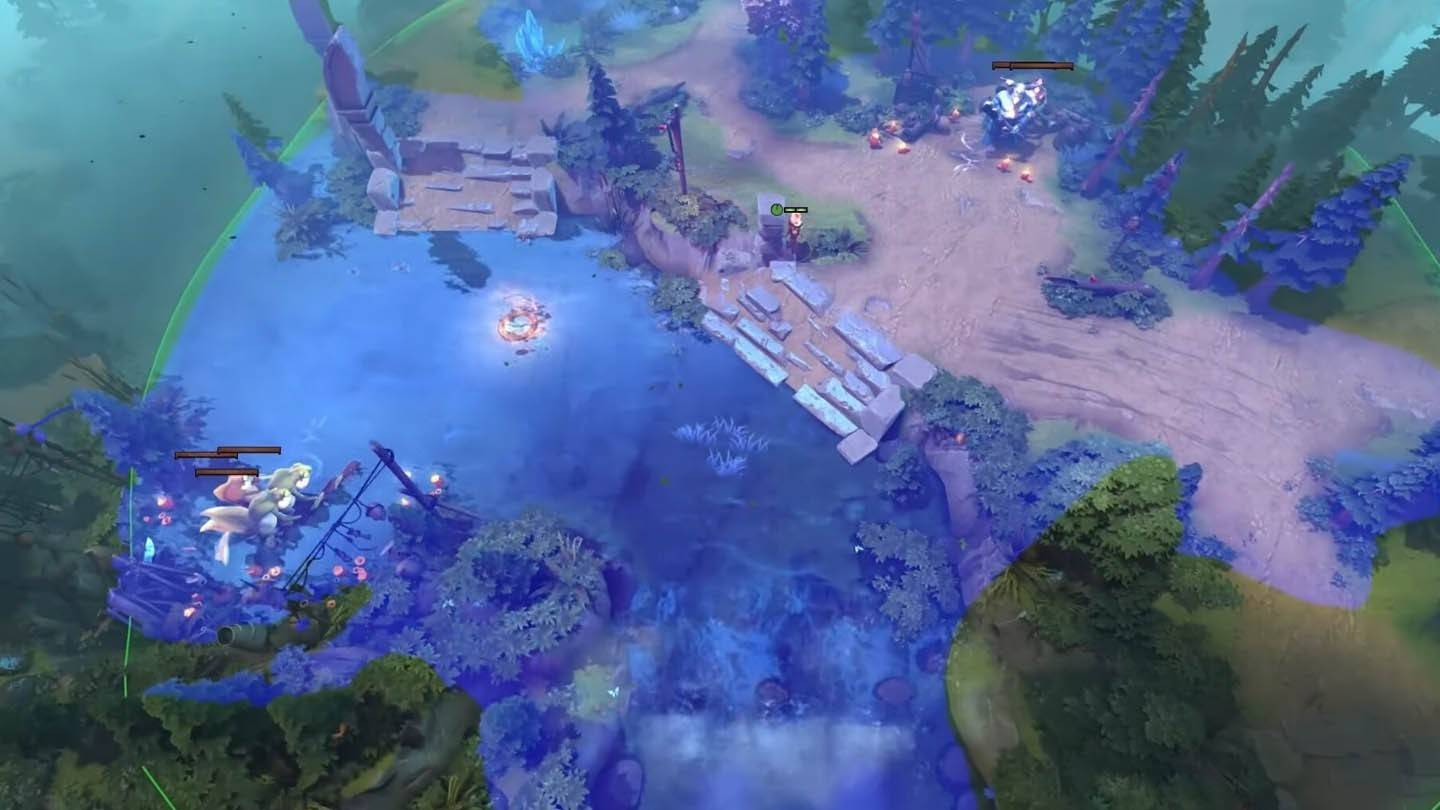
Image: ensigame.com
Provides elevated vision over the Dire's mid lane jungle region, improving situational awareness.
Advanced Technique: Combine with other mid lane wards for comprehensive coverage.
Radiant Bottom Tier 2 Rear Flank
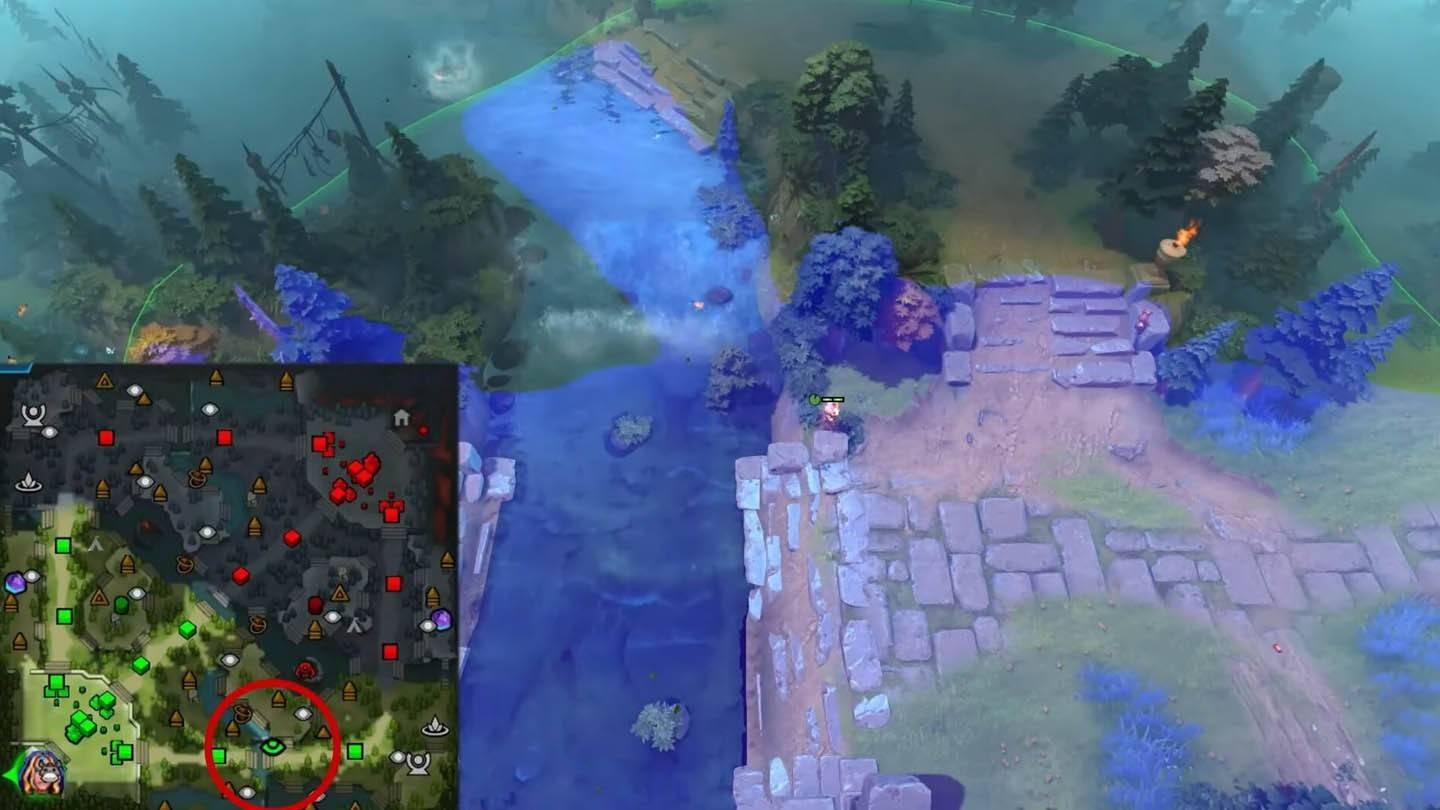
Image: ensigame.com
Monitors rear flanks near the Radiant's bottom tier two
 LATEST ARTICLES