If you adored Dead Rails on Sails, you're in for a treat with the latest update to Dead Sails. While it might throw you a few curveballs, fear not; navigating the Seven Seas and taking down the mighty Kraken is entirely within your reach. No need to fumble through trial and error—I've crafted this comprehensive Dead Sails Kraken Guide to steer you through the new content, accelerate your progress, and amplify your fun to the max.
Recommended Videos
Table of Contents
- Dead Sails Kraken Boss Guide
- Dead Sails Kraken Tips and Tricks
- How to Defeat the Kraken Boss in Dead Sails
Dead Sails Kraken Boss Guide
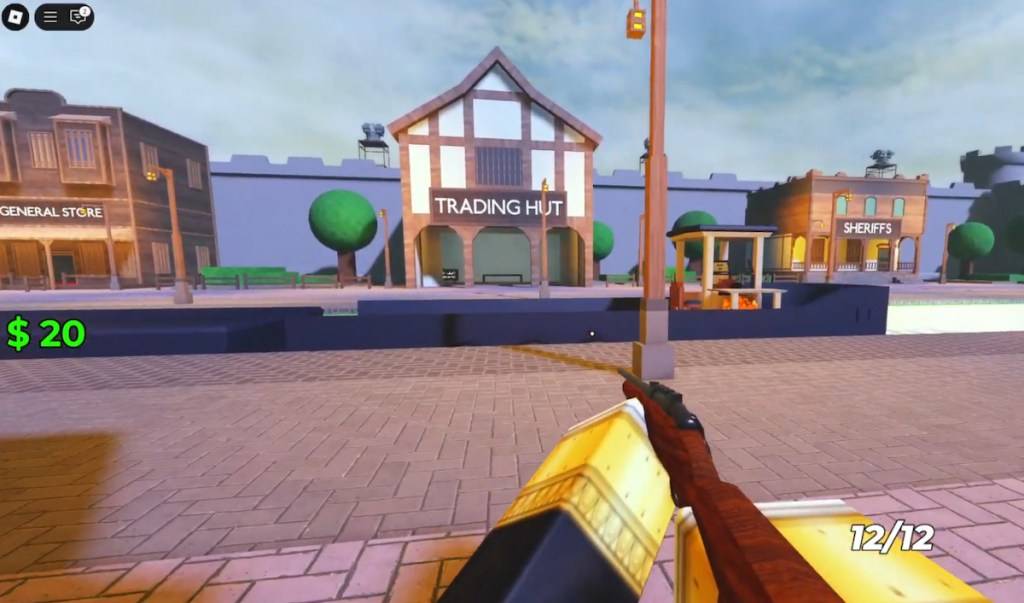
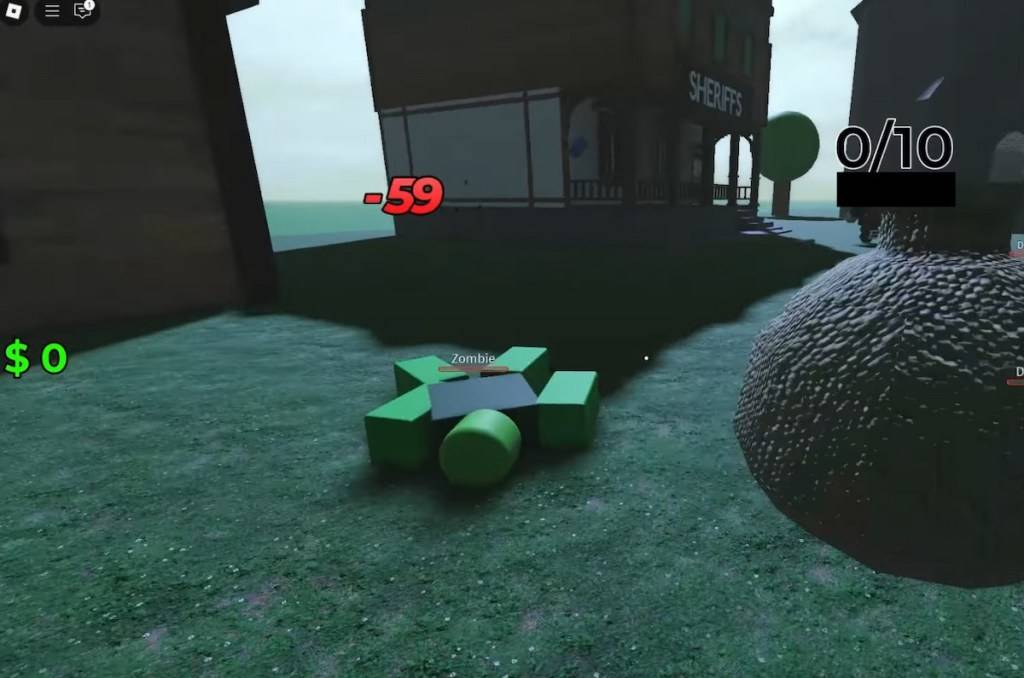
Your journey kicks off in the heart of town, positioned across from the Gun Store and Hospital and in front of the Trading Hut. Start by offloading any unnecessary loot and gearing up. My go-to weapon? The Rifle. Priced at just $75, it packs enough punch to keep most enemies at bay, at least temporarily. Don't forget to stock up on coal to power your boat; it's got that old-school engine, after all.
 Screenshot by Destructoid
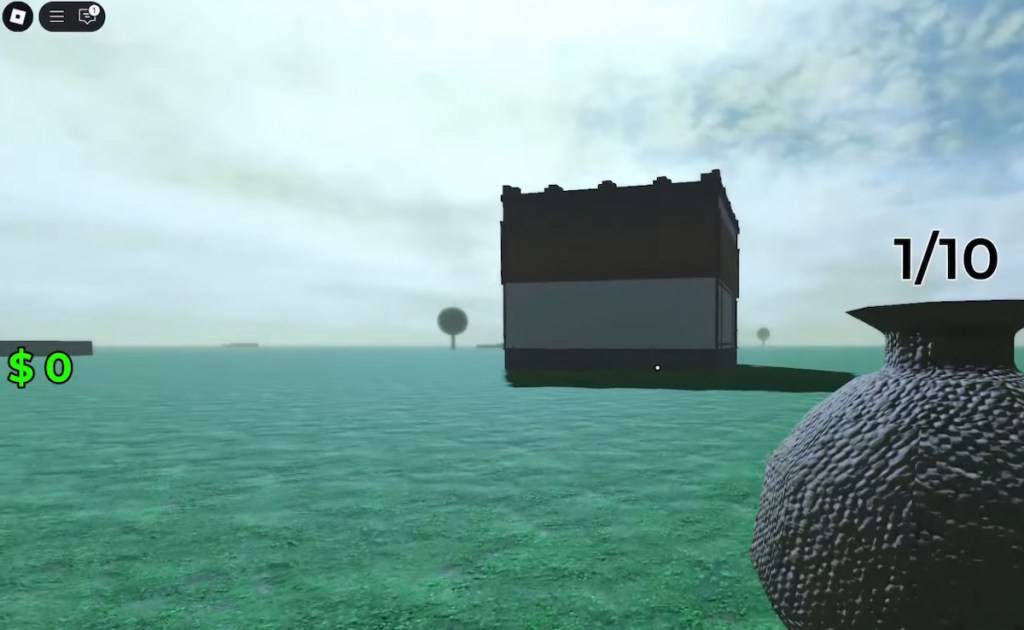
The next town lies 10,000m away. All you need to do is fire up the engine and set sail. While you might be tempted to stop and take down Zombies and Drowned for their loot, I'd advise against it; the houses along the way don't hold much value. To keep the ship moving, just toss in more coal. Don't let the worm on the right side spook you. Wait until you reach the second safe zone to sell your goods, but stay alert for Big Foot and Zombie mobs flanking the river.
 Screenshot by Destructoid
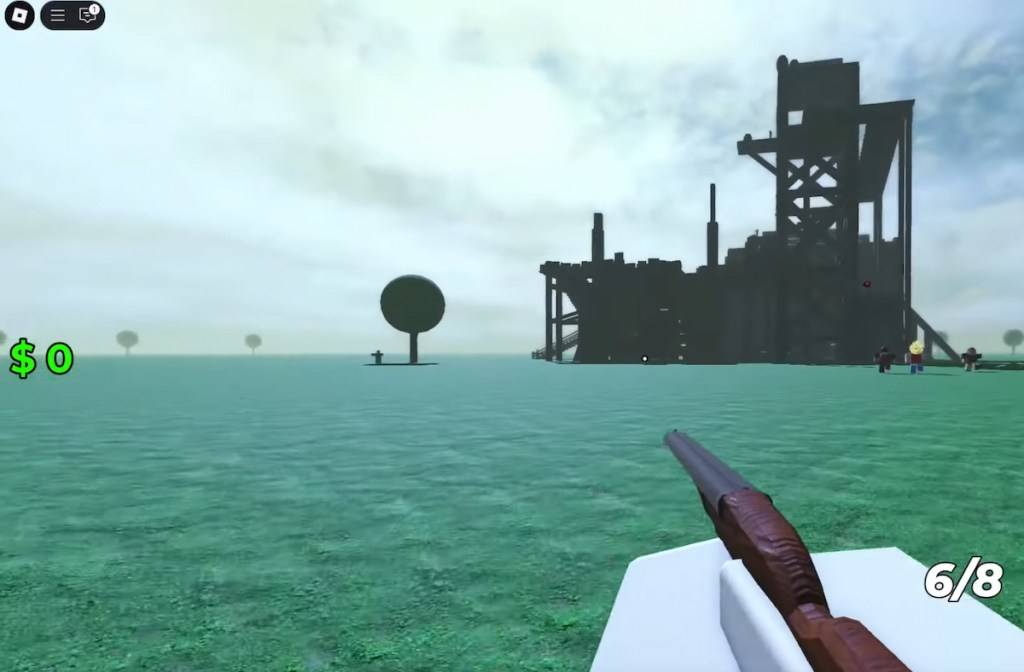
Post-second safe zone, you'll encounter burning buildings teeming with mobs. If you're with friends, tackle them together; otherwise, it's a waste of time due to erratic spawn points. At around 12,000m, you'll find a castle-like house brimming with Drowned and valuable loot like Shotgun ammo. Use it wisely.
 Screenshot by Destructoid
Dead Sails Kraken Tips and Tricks
By now, you've got the hang of it—kill, loot, repeat and pray for enemy defeat. That's the essence of the game. To master it, focus on efficiency, particularly by using your boat as a mobile inventory. When you return to it, empty your bag to save space and time.
 Screenshot by Destructoid
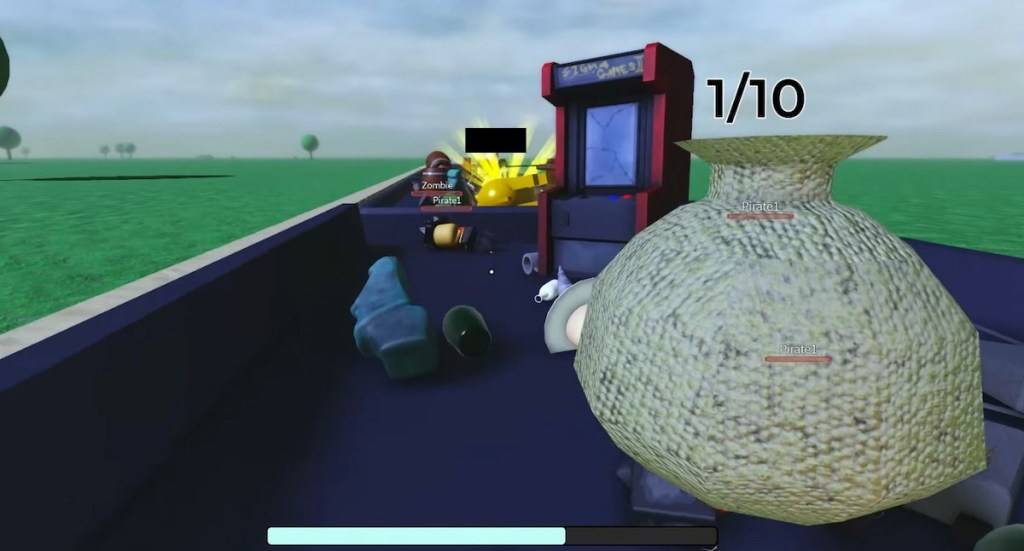
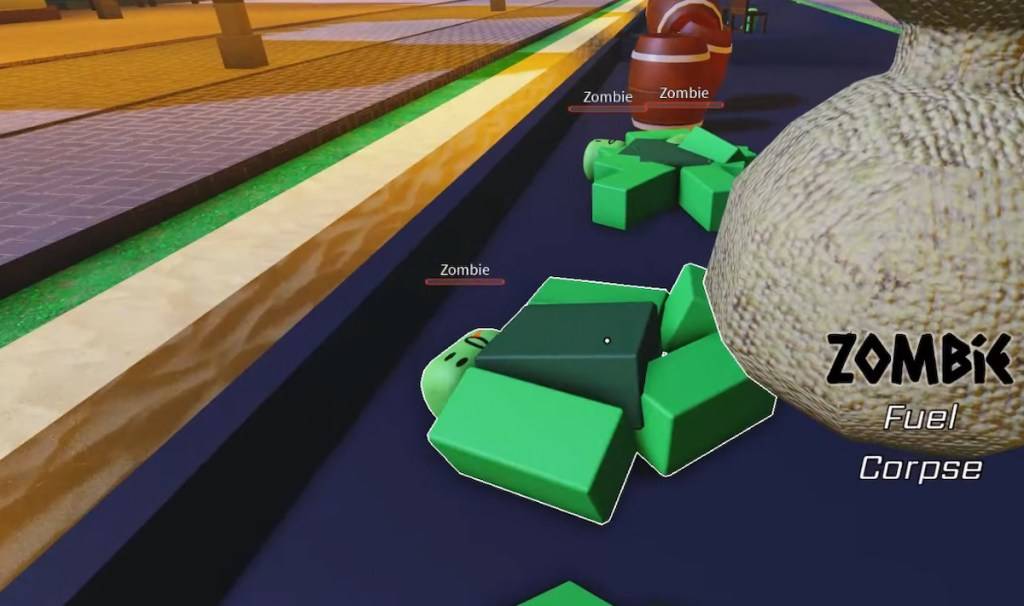
A game-changer for me while crafting this guide was stacking Zombies near the incinerator. While the urge to flee those backwater towns is strong, efficient loot stacking pays off. Running low on fuel? Just throw a few Zombies in the incinerator and you're set.
 Screenshot by Destructoid
Another tip: keep an eye on Sheriff's offices. They often swarm with mobs, but the rewards in weapons and ammo are worth it. I sustained my shotgun's firepower for ages by having a friend clear the ground floor while we scoured each town.
 Screenshot by Destructoid
Remember to conserve ammo, weapons, fuel, and medkits for the fortress at around 25,000m. It's still under construction, making it a prime spot for ambushes. I wouldn't venture there without at least three more people; a group of five is ideal. Be efficient with your loot collection.
 Screenshot by Destructoid
And avoid engaging Big Feet after 30,000m. They're tough, hit hard, and require a ton of ammo to take down safely. Don't linger; plan your stops wisely. Loot isn't everything, though it's hard to admit.
The town past 50,000m is one of my favorite farming spots. With at least two dozen Drowned and Zombies, it's perfect for those armed with Shotguns or Sawn-offs. It's also an efficient way to gather corpses for fuel, so coordinate with your team to prep the bodies quickly.
How to Defeat the Kraken Boss in Dead Sails
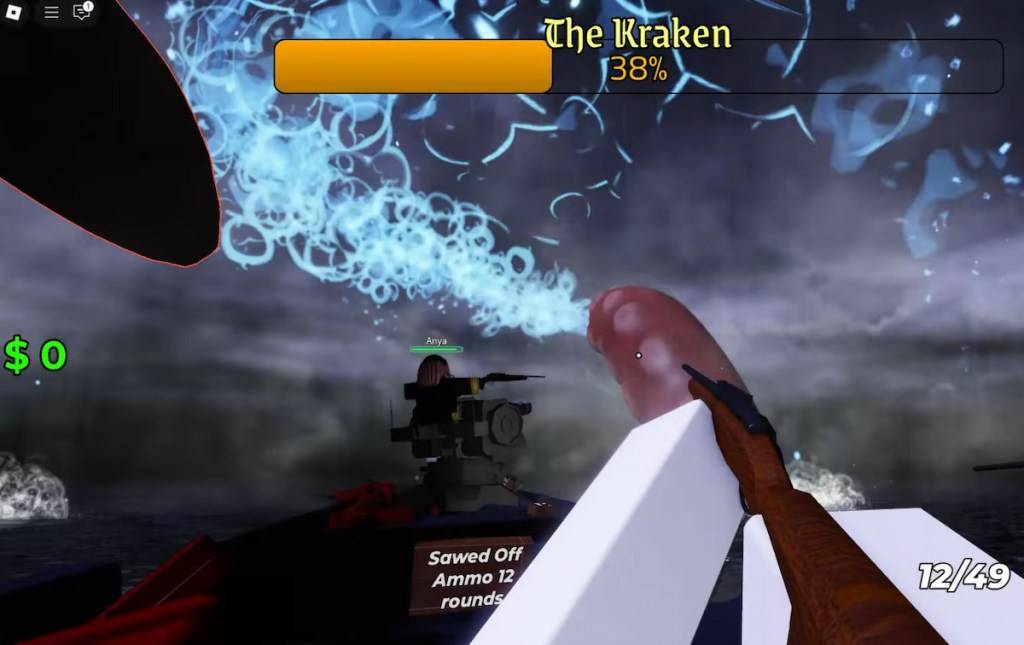
As you approach the final safe zone, sell off all your goods and stock up on ammo, weapons, and medkits. Don't go easy on the Zombies and Drowned. Keep a stash of at least 8-10 corpses for fuel during this final leg of our guide. At around 100,000m, you'll reach open waters and be ready to confront the beast. You'll know it's coming when the skies darken.
 Screenshot by Destructoid
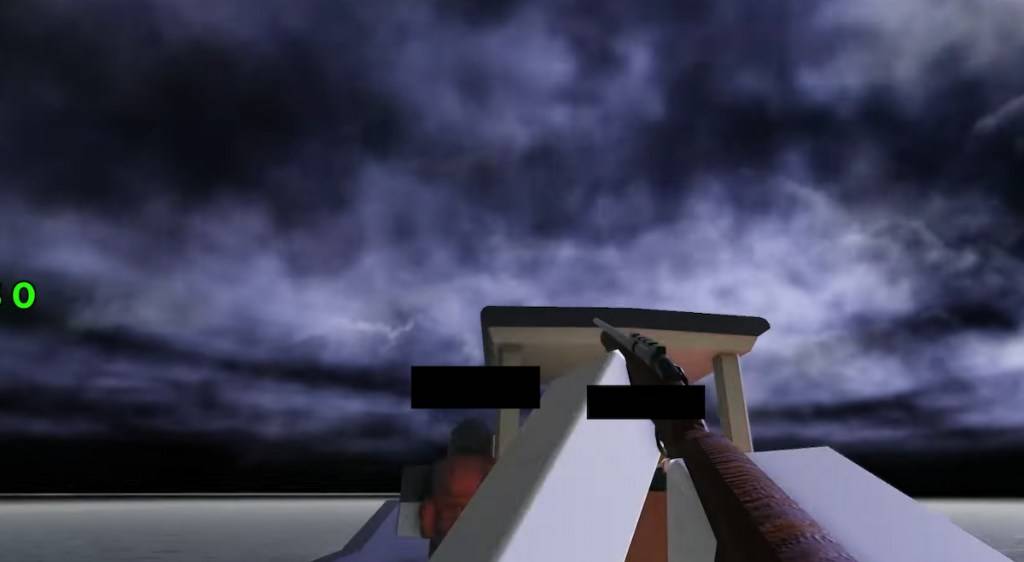 Screenshot by Destructoid
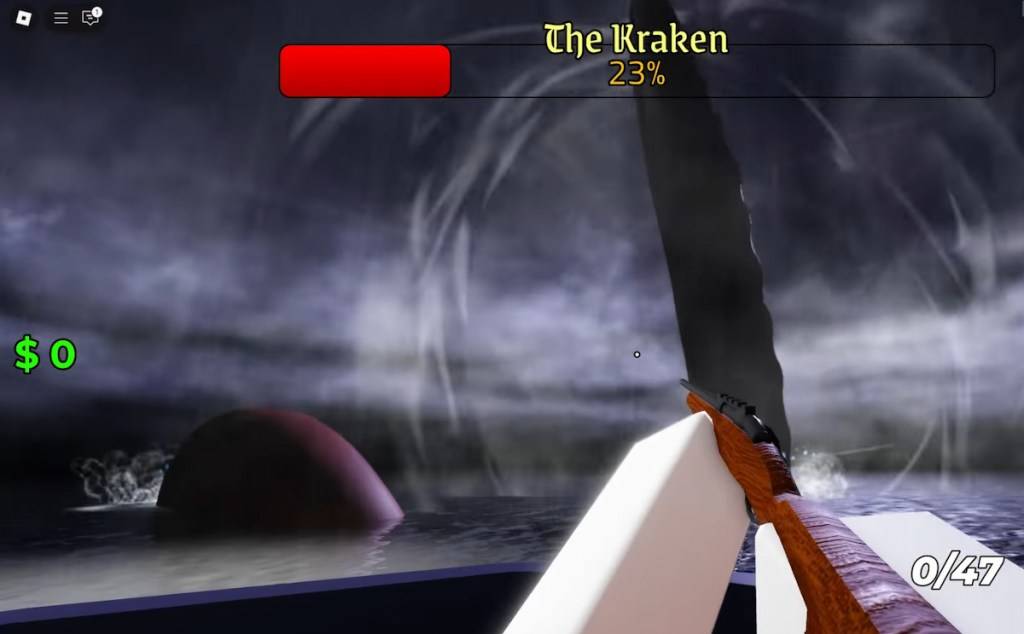
As the Kraken emerges, the camera zooms out. EVERYONE MUST TARGET a tentacle. The boss has substantial health, and each tentacle can attack and cause damage if not properly repelled. If you have five players, form a pentagram-like shape and each focus on a different tentacle.
 Screenshot by Destructoid
Watch out for the water splash ability, which deals AoE damage and is signaled by the Kraken winding back and creating a water trail with its tentacle. Use medkits liberally here, as some damage is unavoidable.
 Screenshot by Destructoid
Lastly, be cautious of the Roar AoE, which inflicts minor damage but is unblockable and seems to slightly boost the boss's damage. You'll see it as white concentric circles emanating from the tentacle that used the ability.
 Screenshot by Destructoid
See, it's not as daunting as it seems. That wraps up my Dead Sails Kraken Guide. To speed through the boss even faster, grab one of our Dead Sails codes and see how far and fast you can go. Good luck and smooth sailing!
 LATEST ARTICLES