Creating a convenient and functional space for storing your armor is a crucial step in enhancing your experience in the blocky world of Minecraft. An armor stand not only helps you organize your inventory efficiently but also adds an element of aesthetics and grandeur to your gaming environment. Whether you're looking to display your finest armor sets or need a quick way to switch gear, an armor stand is an essential addition to any player's base.
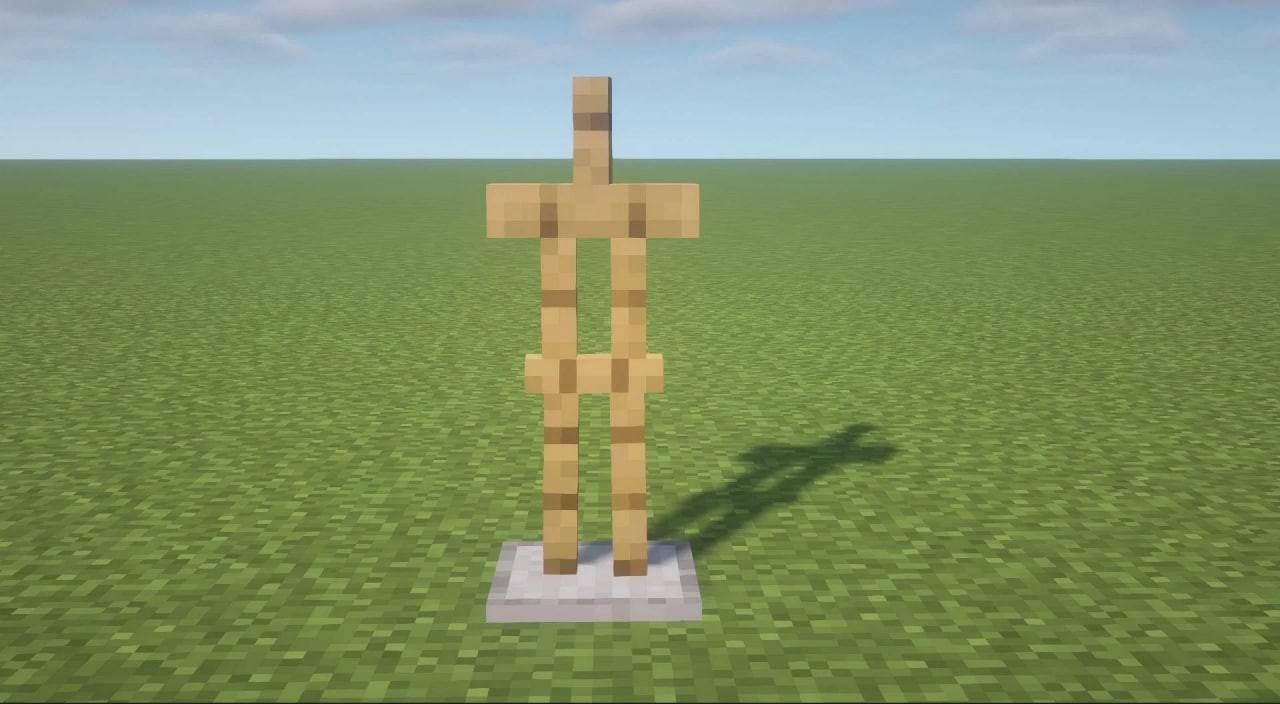 Image: sportskeeda.comIn this detailed guide, we'll explore the ins and outs of crafting an armor stand, ensuring it serves you well in your Minecraft adventures.
Table of Contents ---
- Why Is It Needed?
- How to Craft an Armor Stand in Minecraft?
- Obtaining an Armor Stand Using a Command
Why Is It Needed?
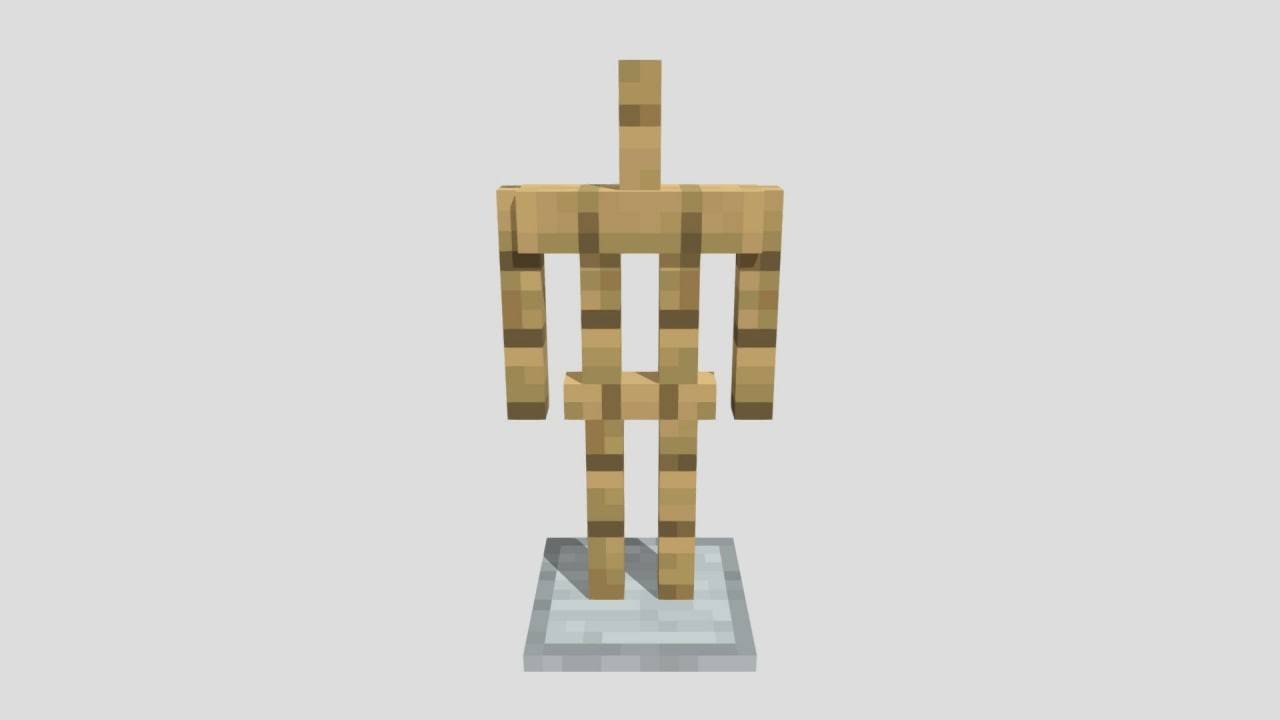 Image: sketchfab.comBefore diving into the crafting process, it's essential to understand the significance of an armor stand. Beyond its primary function of storage, it enables quick equipment changes, showcases your best armor and accessories, and frees up space in your inventory. A well-crafted stand can become a pivotal feature of your base, enhancing both its functionality and visual appeal.
How to Craft an Armor Stand in Minecraft?
Crafting an armor stand is a straightforward process that begins with gathering some basic materials. Start by collecting wood from any tree in the game. Simply hit the tree until you gather enough wood to convert into wooden planks.
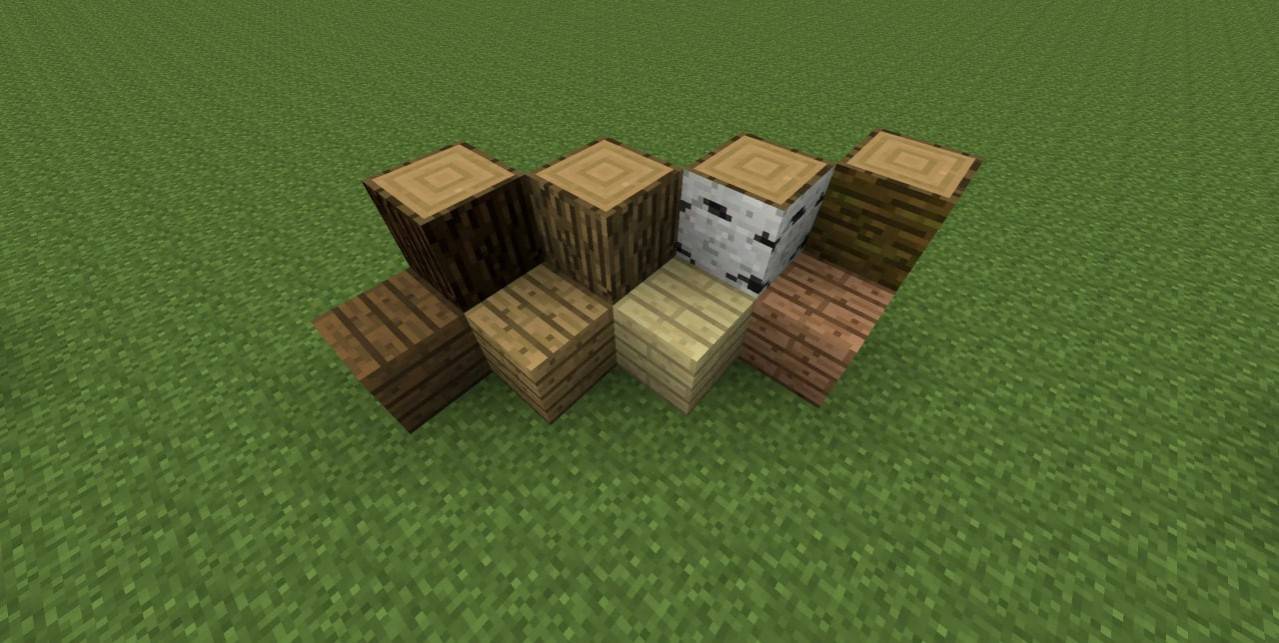 Image: woodworkingez.comArrange these planks vertically in the crafting grid to create sticks.
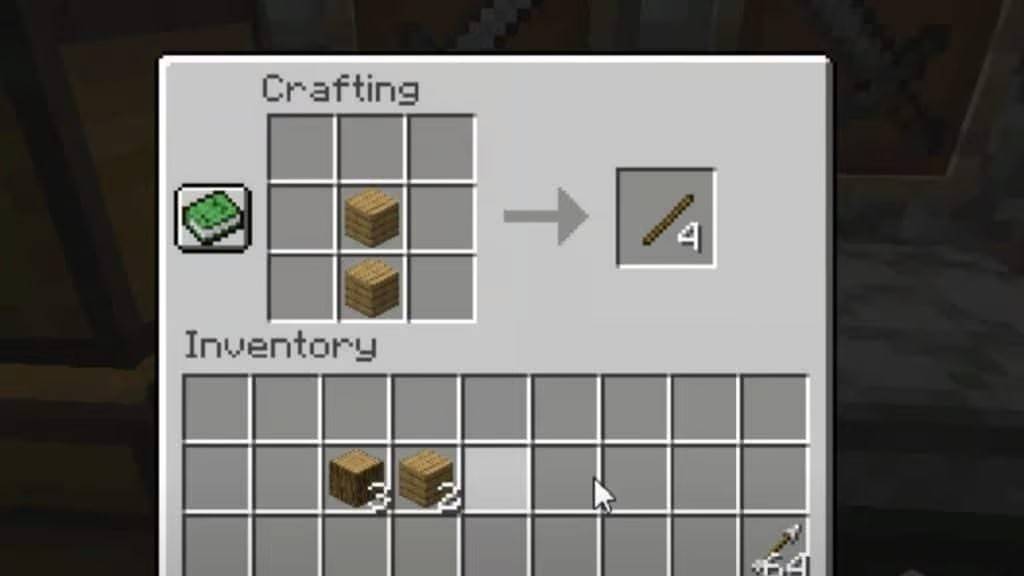 Image: charlieintel.comNext, you'll need a smooth stone slab. Begin by collecting three cobblestones. To transform these into smooth stone, you'll need a furnace, which you can learn to craft in our related guide.
Once your furnace is ready, smelt the cobblestones to create stone, and then smelt the stone to produce smooth stone.
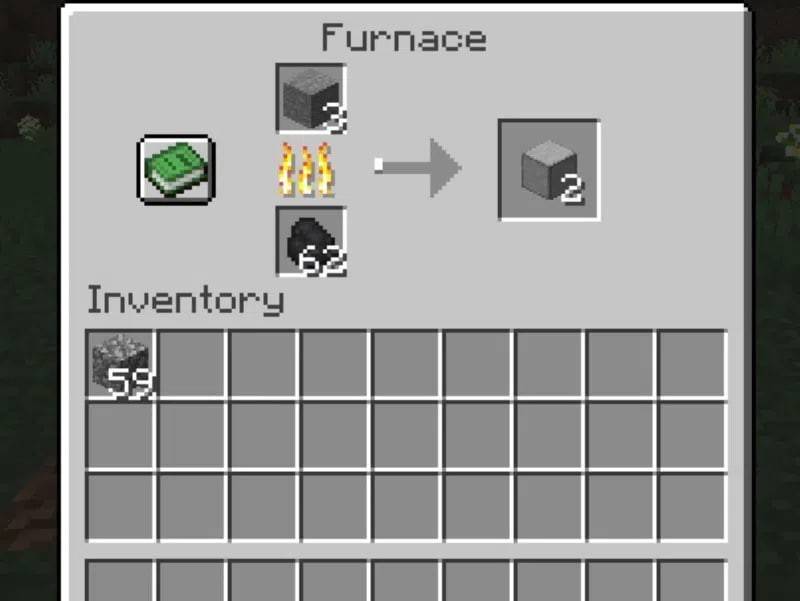 Image: geeksforgeeks.orgFinally, arrange three smooth stones horizontally in the bottom row of the crafting grid to create a smooth stone slab.
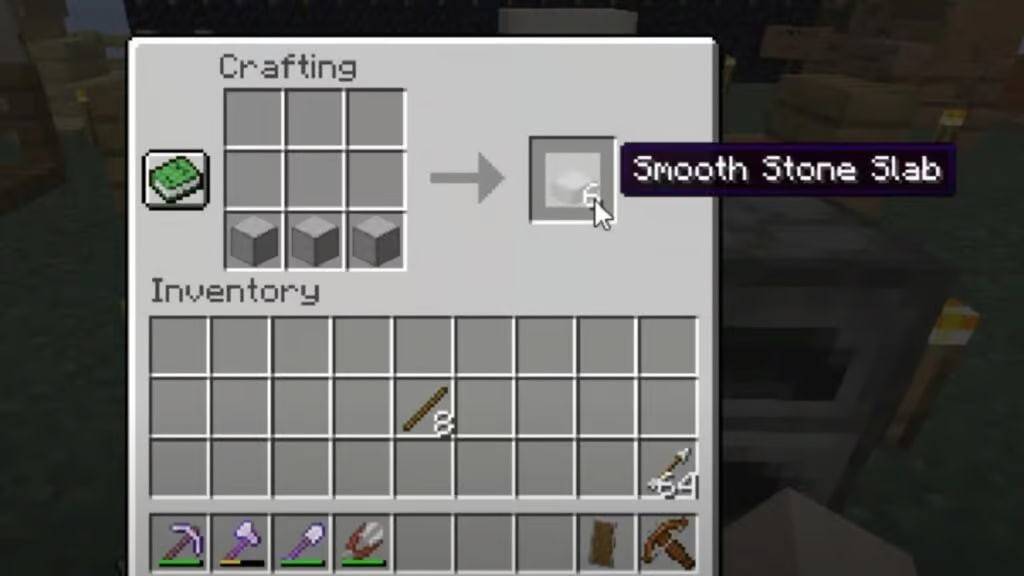 Image: charlieintel.comWith your materials prepared, you're ready to craft the armor stand. You'll need:
- 6 sticks
- 1 smooth stone slab
Arrange these items in the crafting grid as shown below to craft your armor stand.
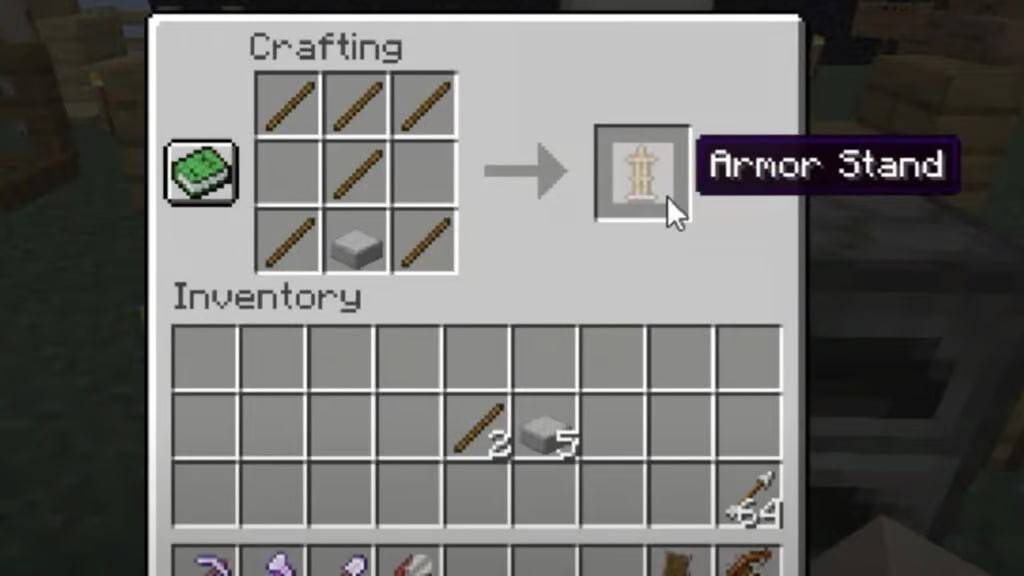 Image: charlieintel.comWith a few simple steps, you'll have a functional and stylish armor stand at your disposal.
Obtaining an Armor Stand Using a Command
 Image: sportskeeda.comFor a quicker alternative, especially if you need multiple stands, you can use the /summon command. This method bypasses the crafting process entirely, allowing you to instantly obtain an armor stand.
In this guide, we've covered the essential steps to create an armor stand in Minecraft. With minimal effort and readily available materials, you can enhance your gameplay and showcase your armor collection with pride.
 LATEST ARTICLES