This guide details the weapons and items available in Fortnite OG (Chapter 1, Season 1) mode. This nostalgic mode features the original map and loot pool. Understanding the available weaponry is crucial for success. The meta is significantly different from later seasons.
Quick Links
Fortnite OG returns players to the original Battle Royale experience. The loot pool significantly impacts gameplay, necessitating familiarity with available weapons and items. The weapon meta differs substantially from later seasons, with hitscan weapons playing a more prominent role. Strategic item selection will be key to victory.
All Fortnite OG Assault Rifles
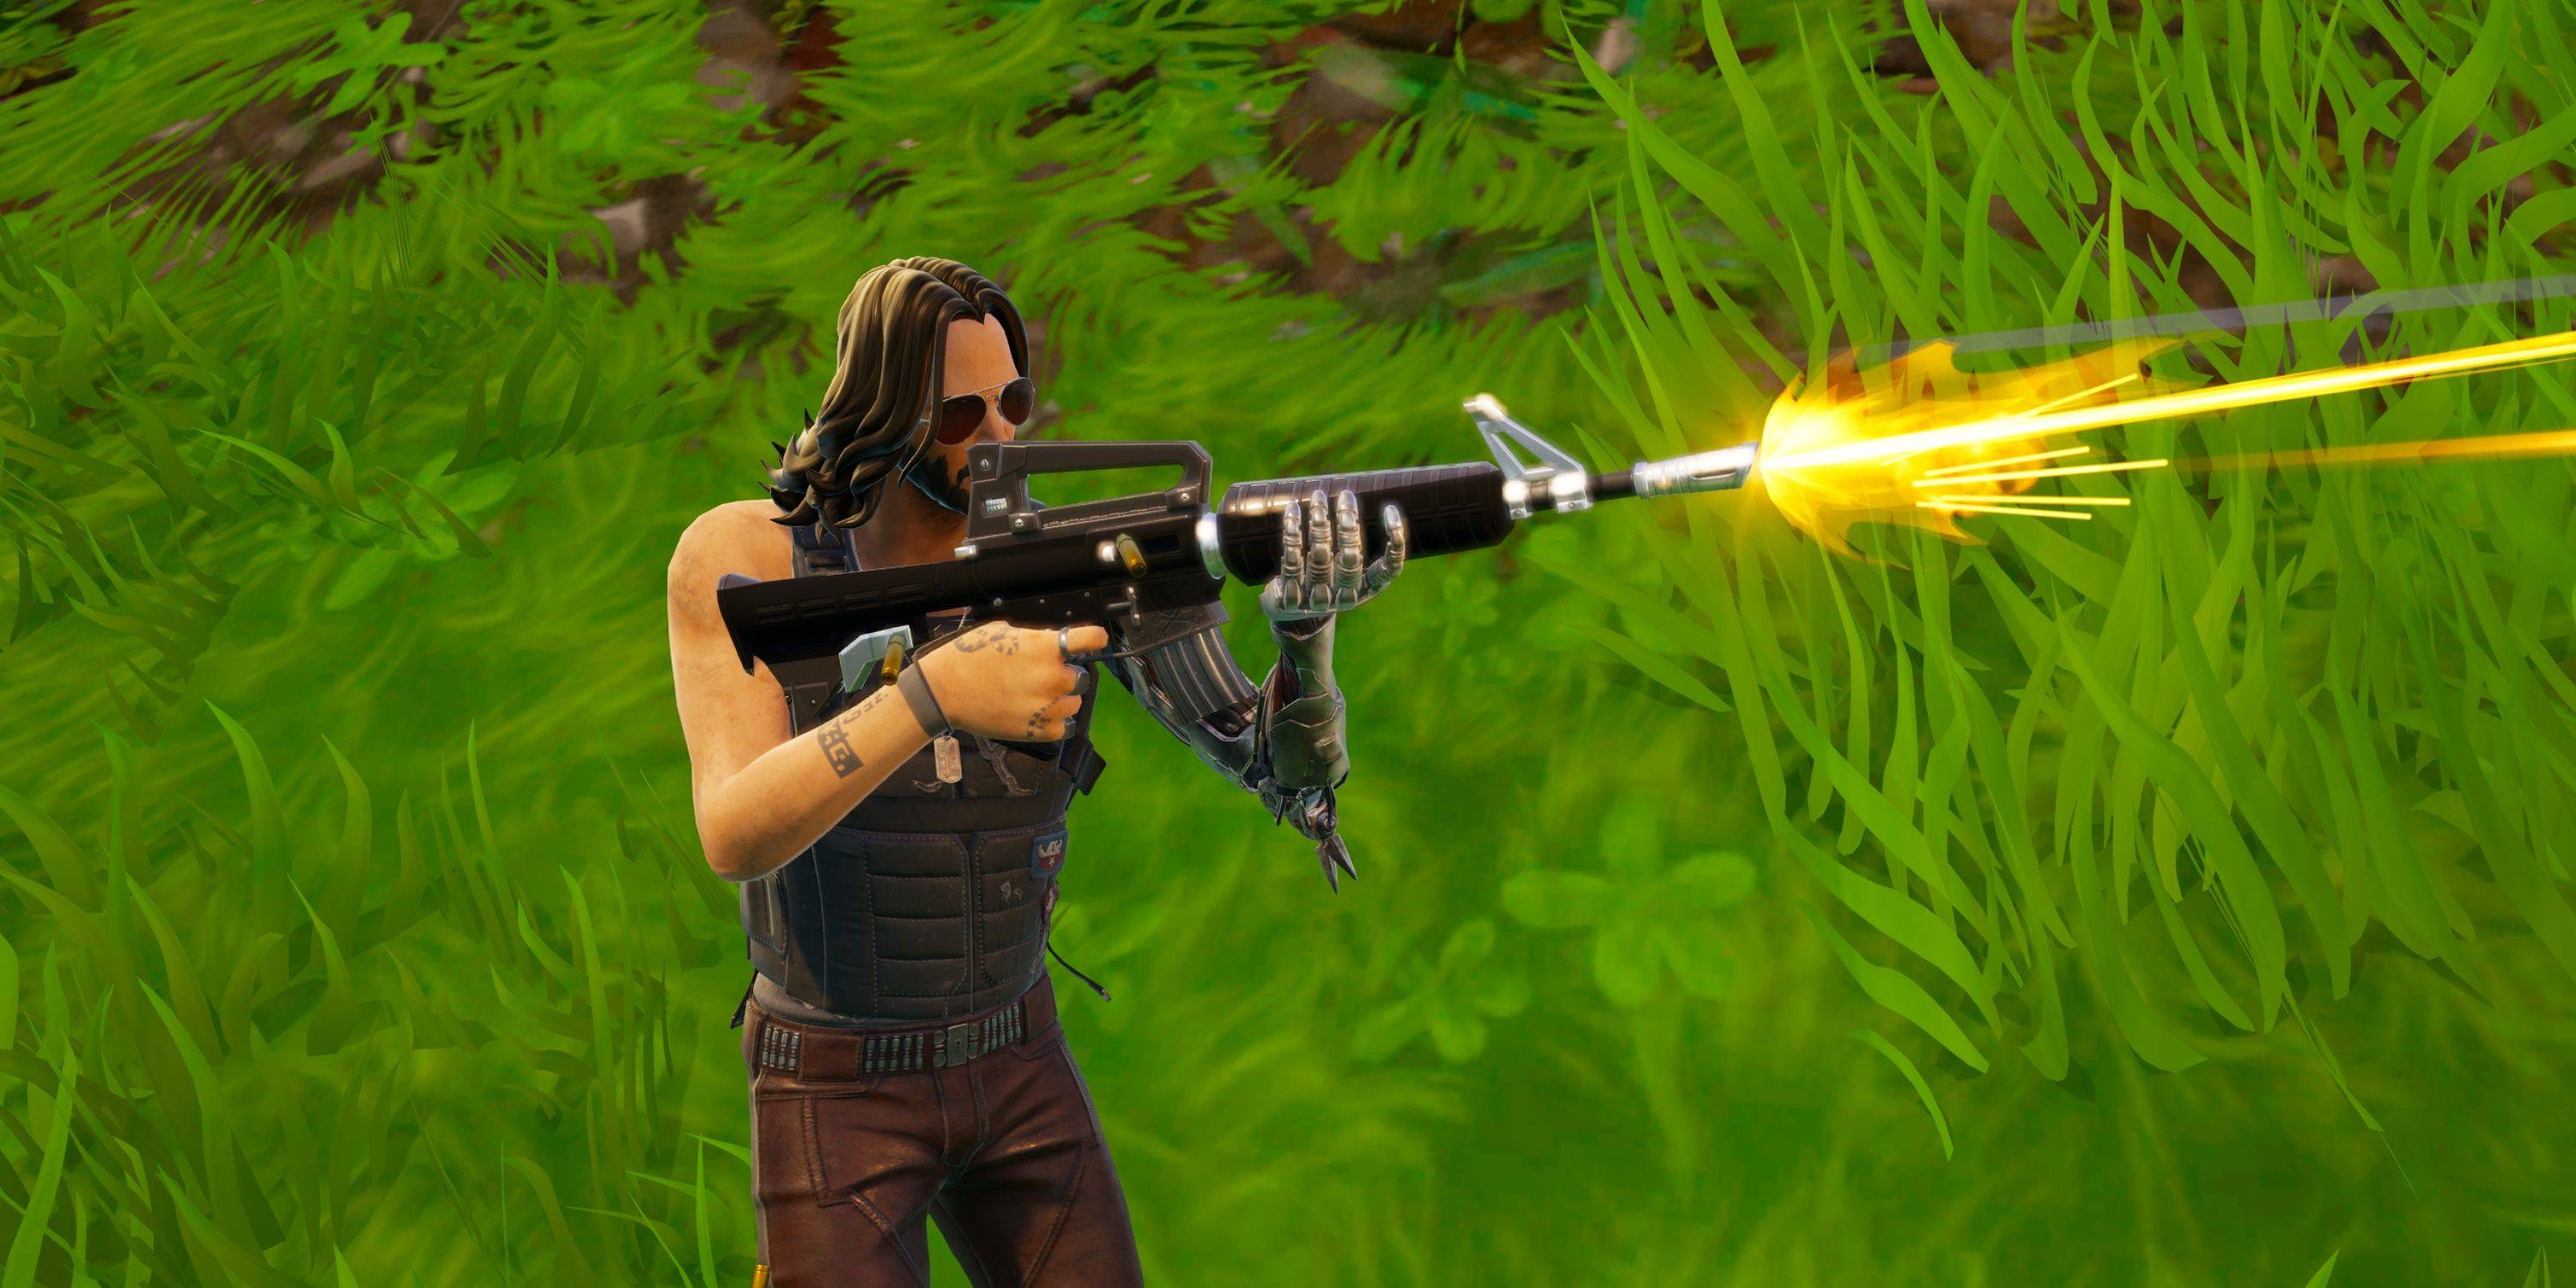
Assault Rifles are highly effective in Fortnite OG, especially given the return of hitscan mechanics. However, bloom can be a significant factor.
Assault Rifle
| Rarity |
Common |
Uncommon |
Rare |
Epic |
Legendary |
| Damage |
30 |
31 |
33 |
35 |
36 |
| Magazine |
30 |
30 |
30 |
30 |
30 |
| Fire Rate |
5.5 |
5.5 |
5.5 |
5.5 |
5.5 |
| Reload Time |
2.75s |
2.625s |
2.5s |
2.375s |
2.25s |
| Structure Damage |
30 |
31 |
33 |
35 |
36 |
The Assault Rifle's manageable bloom, ample magazine capacity, and decent damage make it a reliable choice at all ranges.
Burst Assault Rifle
| Rarity |
Common |
Uncommon |
Rare |
Epic |
Legendary |
| Damage |
27 |
29 |
30 |
36 |
37 |
| Magazine |
30 |
30 |
30 |
30 |
30 |
| Fire Rate |
4.06 |
4.06 |
4.06 |
3.69 |
3.69 |
| Reload Time |
2.75s |
2.62s |
2.5s |
2.38s |
2.25s |
| Structure Damage |
27 |
29 |
34 |
36 |
37 |
The Burst Assault Rifle's three-round burst and high bloom make it less reliable than the standard Assault Rifle.
Scoped Assault Rifle
| Rarity |
Rare |
Epic |
Legendary |
| Damage |
23 |
24 |
37 |
| Magazine |
20 |
20 |
20 |
| Fire Rate |
3.5 |
3.5 |
3.5 |
| Reload Time |
2.3s |
2.2s |
2.07s |
| Structure Damage |
23 |
24 |
37 |
While offering first-person aiming, the Scoped Assault Rifle's inconsistent bullet trajectory makes it less accurate.
All Fortnite OG Shotguns
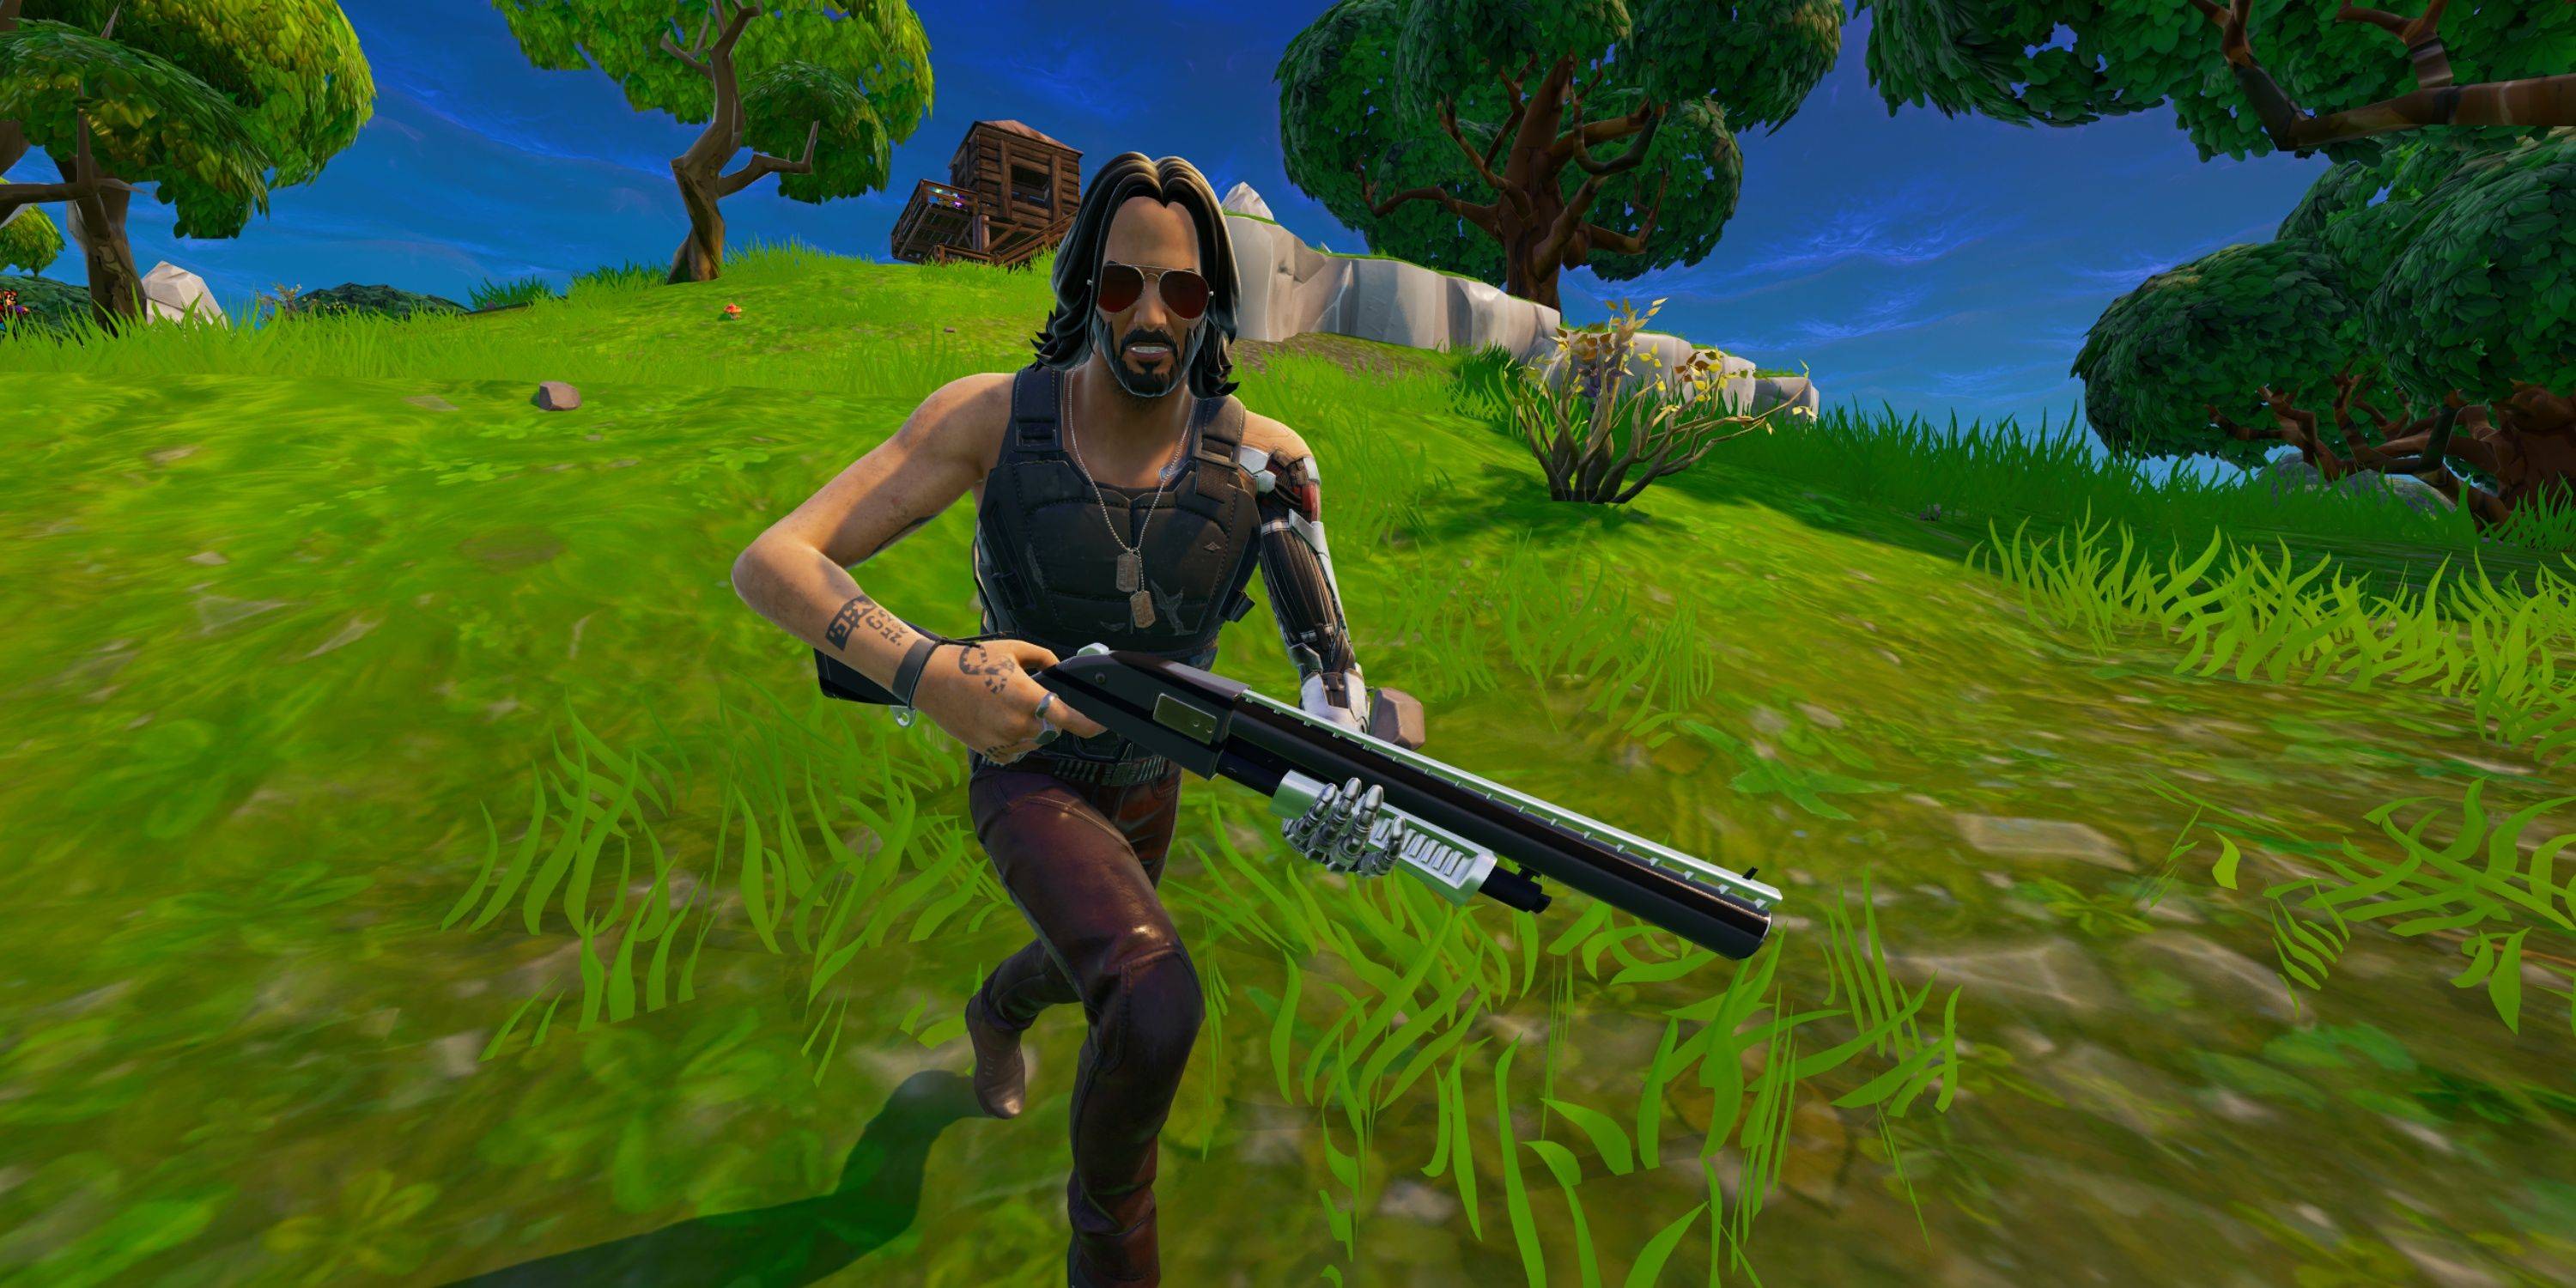
Shotguns are dominant in close-quarters combat due to their high damage output and fast fire rate. The "double pump" technique is particularly effective.
Pump Shotgun
| Rarity |
Common |
Uncommon |
Rare |
Epic |
Legendary |
| Damage |
90 |
95 |
110 |
119 |
128 |
| Magazine |
5 |
5 |
5 |
5 |
5 |
| Fire Rate |
0.7 |
0.7 |
0.7 |
0.7 |
0.7 |
| Reload Time |
4.8s |
4.6s |
4.4s |
4.2s |
4s |
| Structure Damage |
90 |
95 |
110 |
119 |
128 |
The Pump Shotgun's high headshot multiplier allows for quick eliminations. The double pump strategy maximizes its effectiveness.
Tactical Shotgun
| Rarity |
Common |
Uncommon |
Rare |
| Damage |
67 |
70 |
74 |
| Magazine |
8 |
8 |
8 |
| Fire Rate |
1.5 |
1.5 |
1.5 |
| Reload Time |
6.3s |
6s |
5.7s |
| Structure Damage |
67 |
70 |
74 |
The Tactical Shotgun's higher fire rate and headshot multiplier make it a safer, more consistent option.
All Fortnite OG Pistols
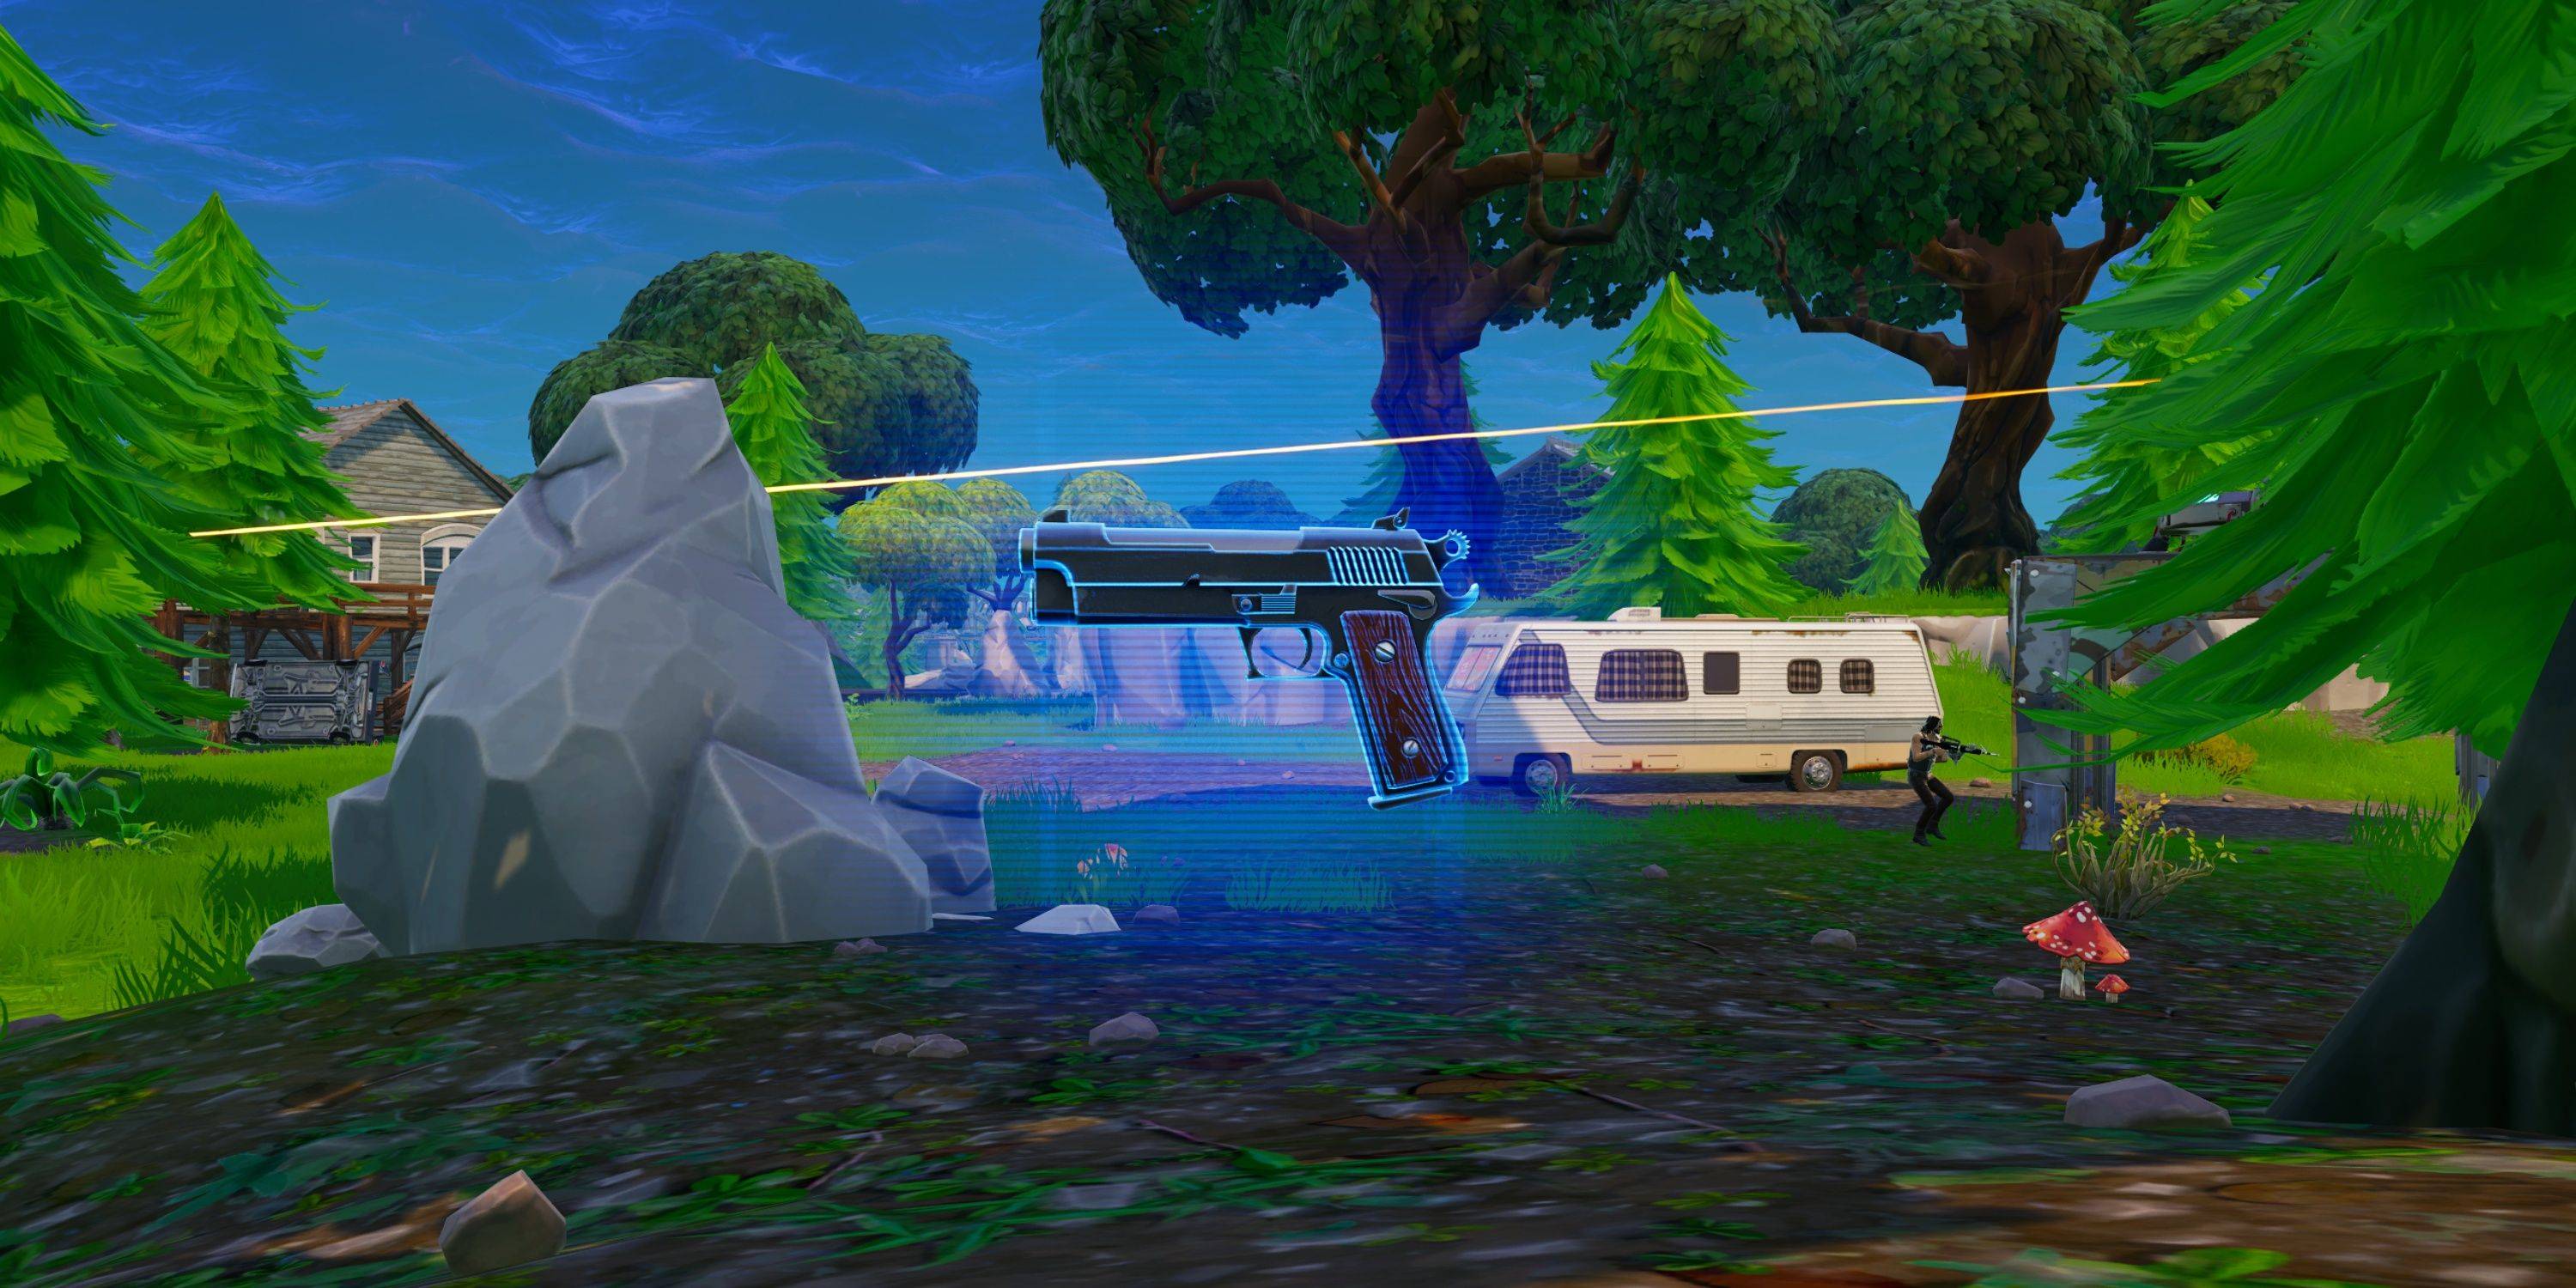
Pistols serve as early-game weapons but are generally less effective in later stages.
Semi-Auto Pistol
| Rarity |
Common |
Uncommon |
Rare |
| Damage |
24 |
25 |
26 |
| Magazine |
16 |
16 |
16 |
| Fire Rate |
6.8 |
6.8 |
6.8 |
| Reload Time |
1.5s |
1.47s |
1.4s |
| Structure Damage |
24 |
25 |
26 |
The Semi-Auto Pistol's high fire rate is offset by its relatively low damage and significant damage drop-off.
Revolver
| Rarity |
Common |
Uncommon |
Rare |
Epic |
Legendary |
| Damage |
54 |
57 |
60 |
63 |
66 |
| Magazine |
6 |
6 |
6 |
6 |
6 |
| Fire Rate |
0.9 |
0.9 |
0.9 |
0.9 |
0.9 |
| Reload Time |
2.2s |
2.1s |
2s |
1.9s |
1.8s |
| Structure Damage |
54 |
57 |
60 |
63 |
66 |
The Revolver's higher damage is countered by significant recoil, impacting accuracy.
All Fortnite OG SMGs
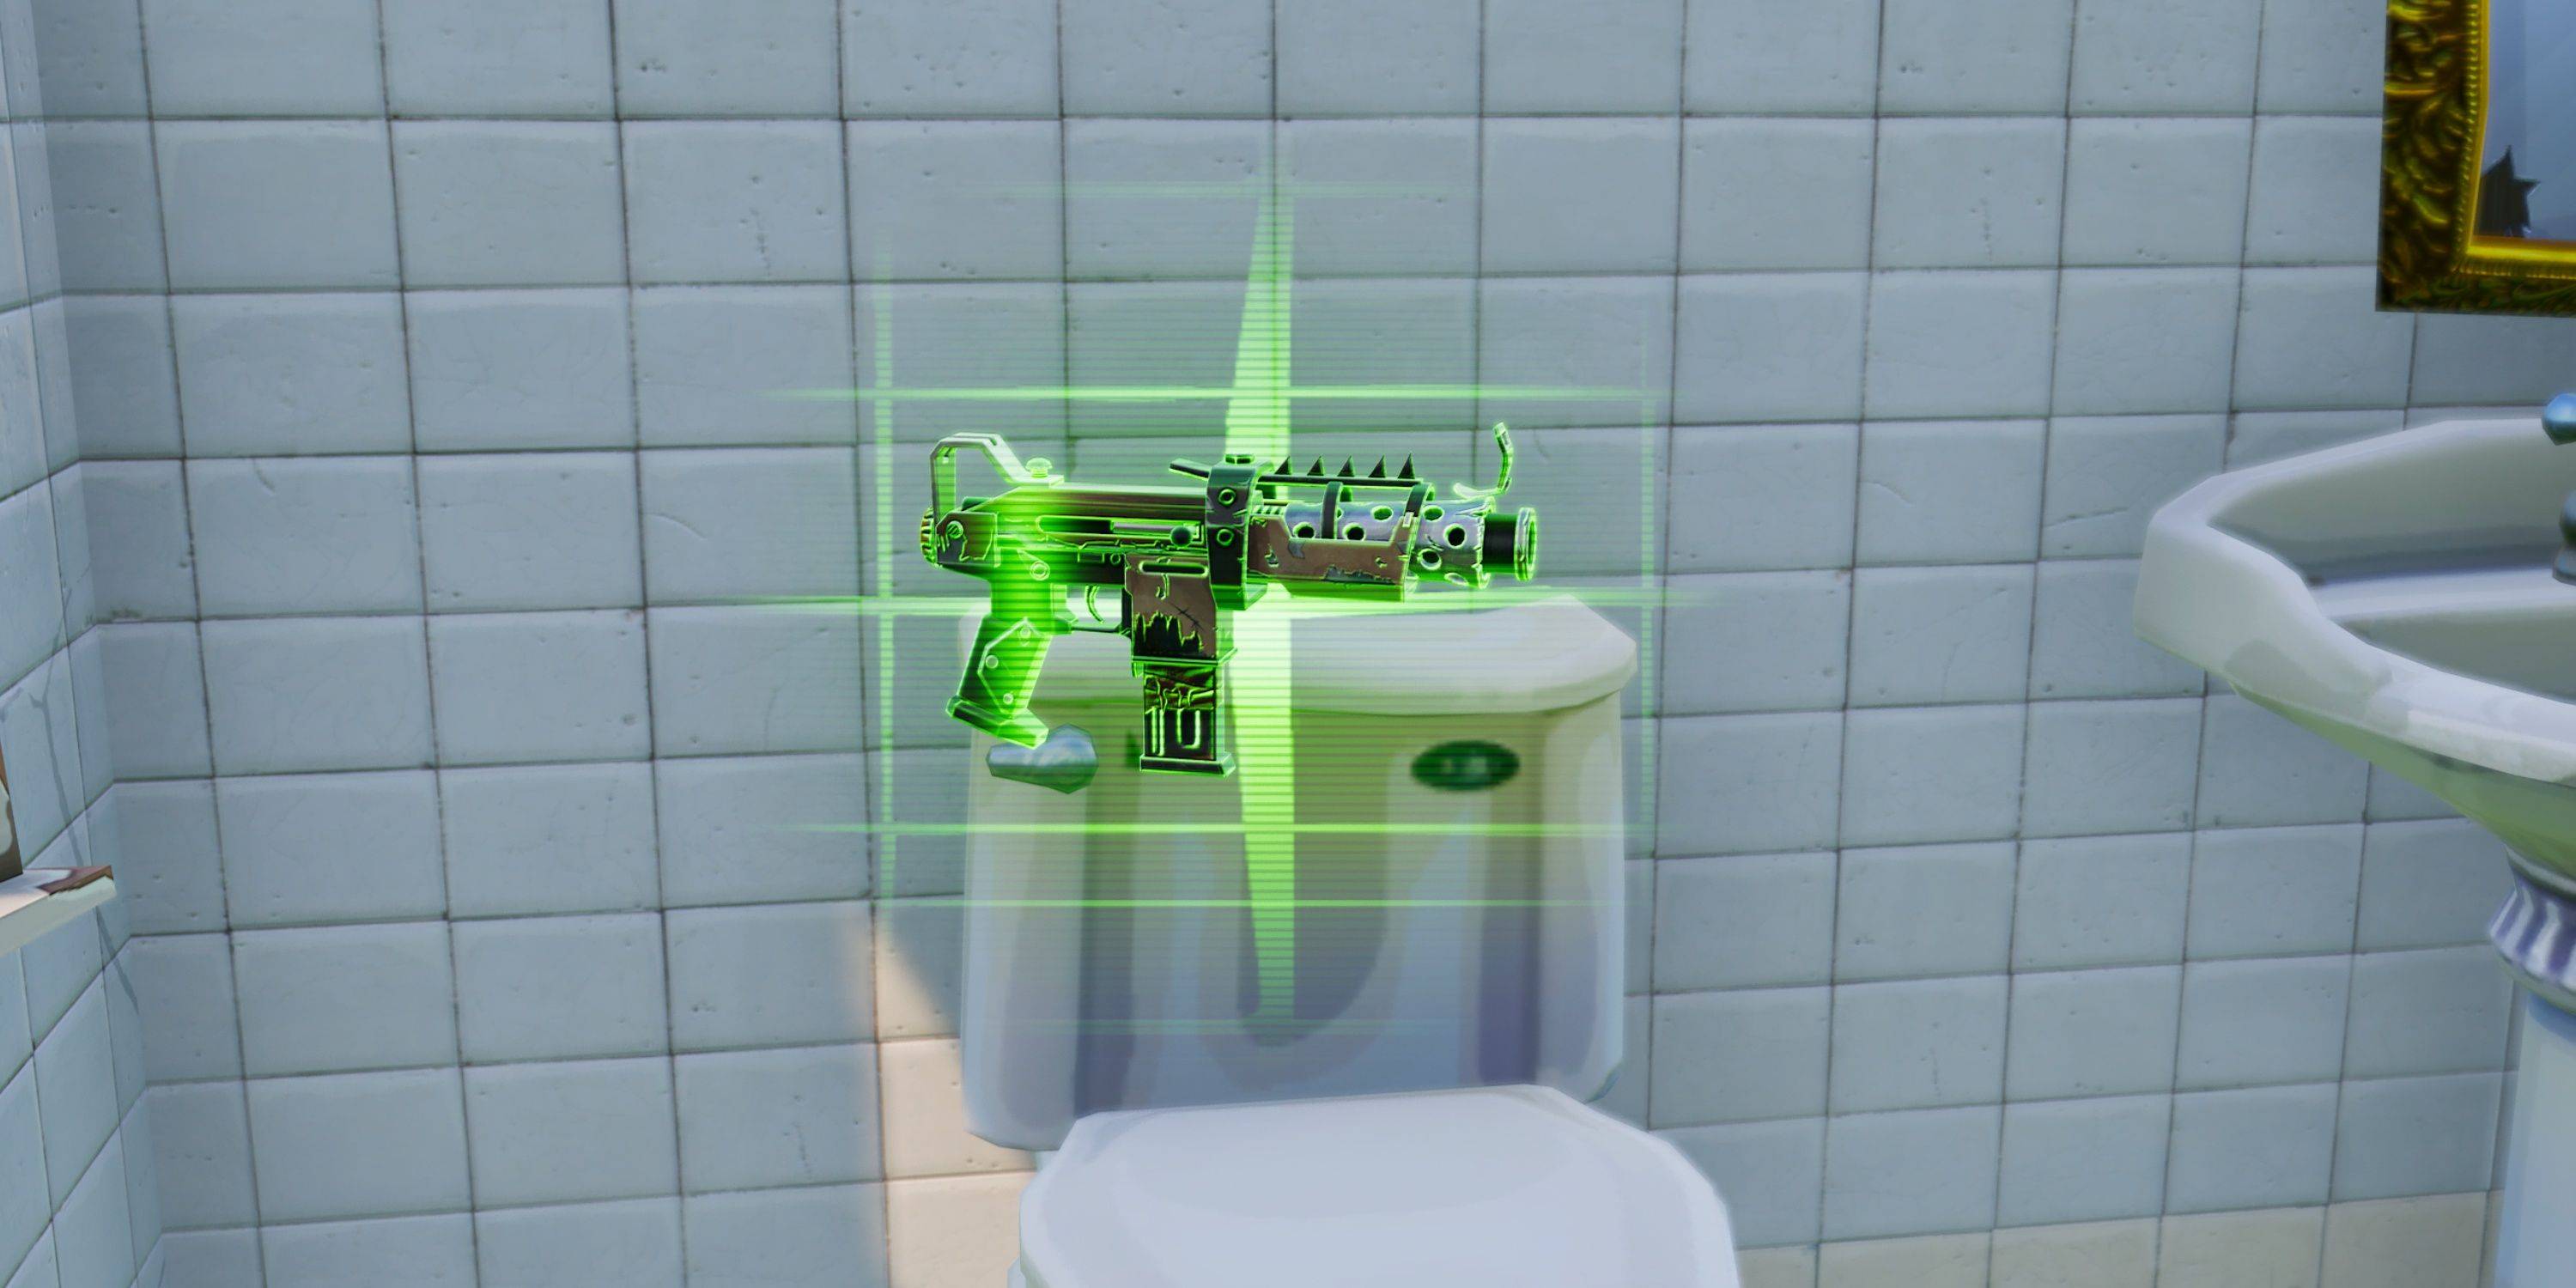
SMGs are effective at close range but lack the damage output of shotguns and the range of assault rifles.
Suppressed Submachine Gun
| Rarity |
Common |
Uncommon |
Rare |
Epic |
| Damage |
17 |
18 |
19 |
23 |
| Magazine |
30 |
30 |
30 |
30 |
| Fire Rate |
9 |
9 |
9 |
9 |
| Reload Time |
2.2s |
2.1s |
2s |
1.9s |
| Structure Damage |
17 |
18 |
19 |
23 |
The Suppressed Submachine Gun offers better range and damage compared to other SMGs.
Tactical Submachine Gun
| Rarity |
Uncommon |
Rare |
Epic |
| Damage |
16 |
17 |
18 |
| Magazine |
30 |
30 |
30 |
| Fire Rate |
10 |
10 |
10 |
| Reload Time |
2.4s |
2.3s |
2.2s |
| Structure Damage |
16 |
17 |
18 |
The Tactical Submachine Gun has less bloom but inconsistent fire rate.
Submachine Gun
| Rarity |
Common |
Uncommon |
Rare |
| Damage |
14 |
15 |
16 |
| Magazine |
35 |
35 |
35 |
| Fire Rate |
15 |
15 |
15 |
| Reload Time |
2.2s |
2.1s |
2s |
| Structure Damage |
14 |
15 |
16 |
The Submachine Gun's high fire rate is offset by its inaccuracy and high ammo consumption.
All Fortnite OG Sniper Rifles
Sniper Rifles require precise aiming for effective headshots.
Bolt-Action Sniper Rifle
| Rarity |
Rare |
Epic |
Legendary |
| Damage |
105 |
110 |
116 |
| Magazine |
1 |
1 |
1 |
| Fire Rate |
0.3s |
0.3s |
0.3s |
| Reload Time |
3s |
2.9s |
2.7s |
| Structure Damage |
105 |
110 |
116 |
The Bolt-Action Sniper Rifle delivers high damage with a significant headshot multiplier but has a slow fire rate and small magazine.
Semi-Auto Sniper Rifle
| Rarity |
Epic |
Legendary |
| Damage |
63 |
66 |
| Magazine |
10 |
10 |
| Fire Rate |
1.2 |
1.2 |
| Reload Time |
2.5s |
2.3s |
| Structure Damage |
75 |
78 |
The Semi-Auto Sniper Rifle offers a faster fire rate and larger magazine but lower single-shot damage.
All Fortnite OG Explosives
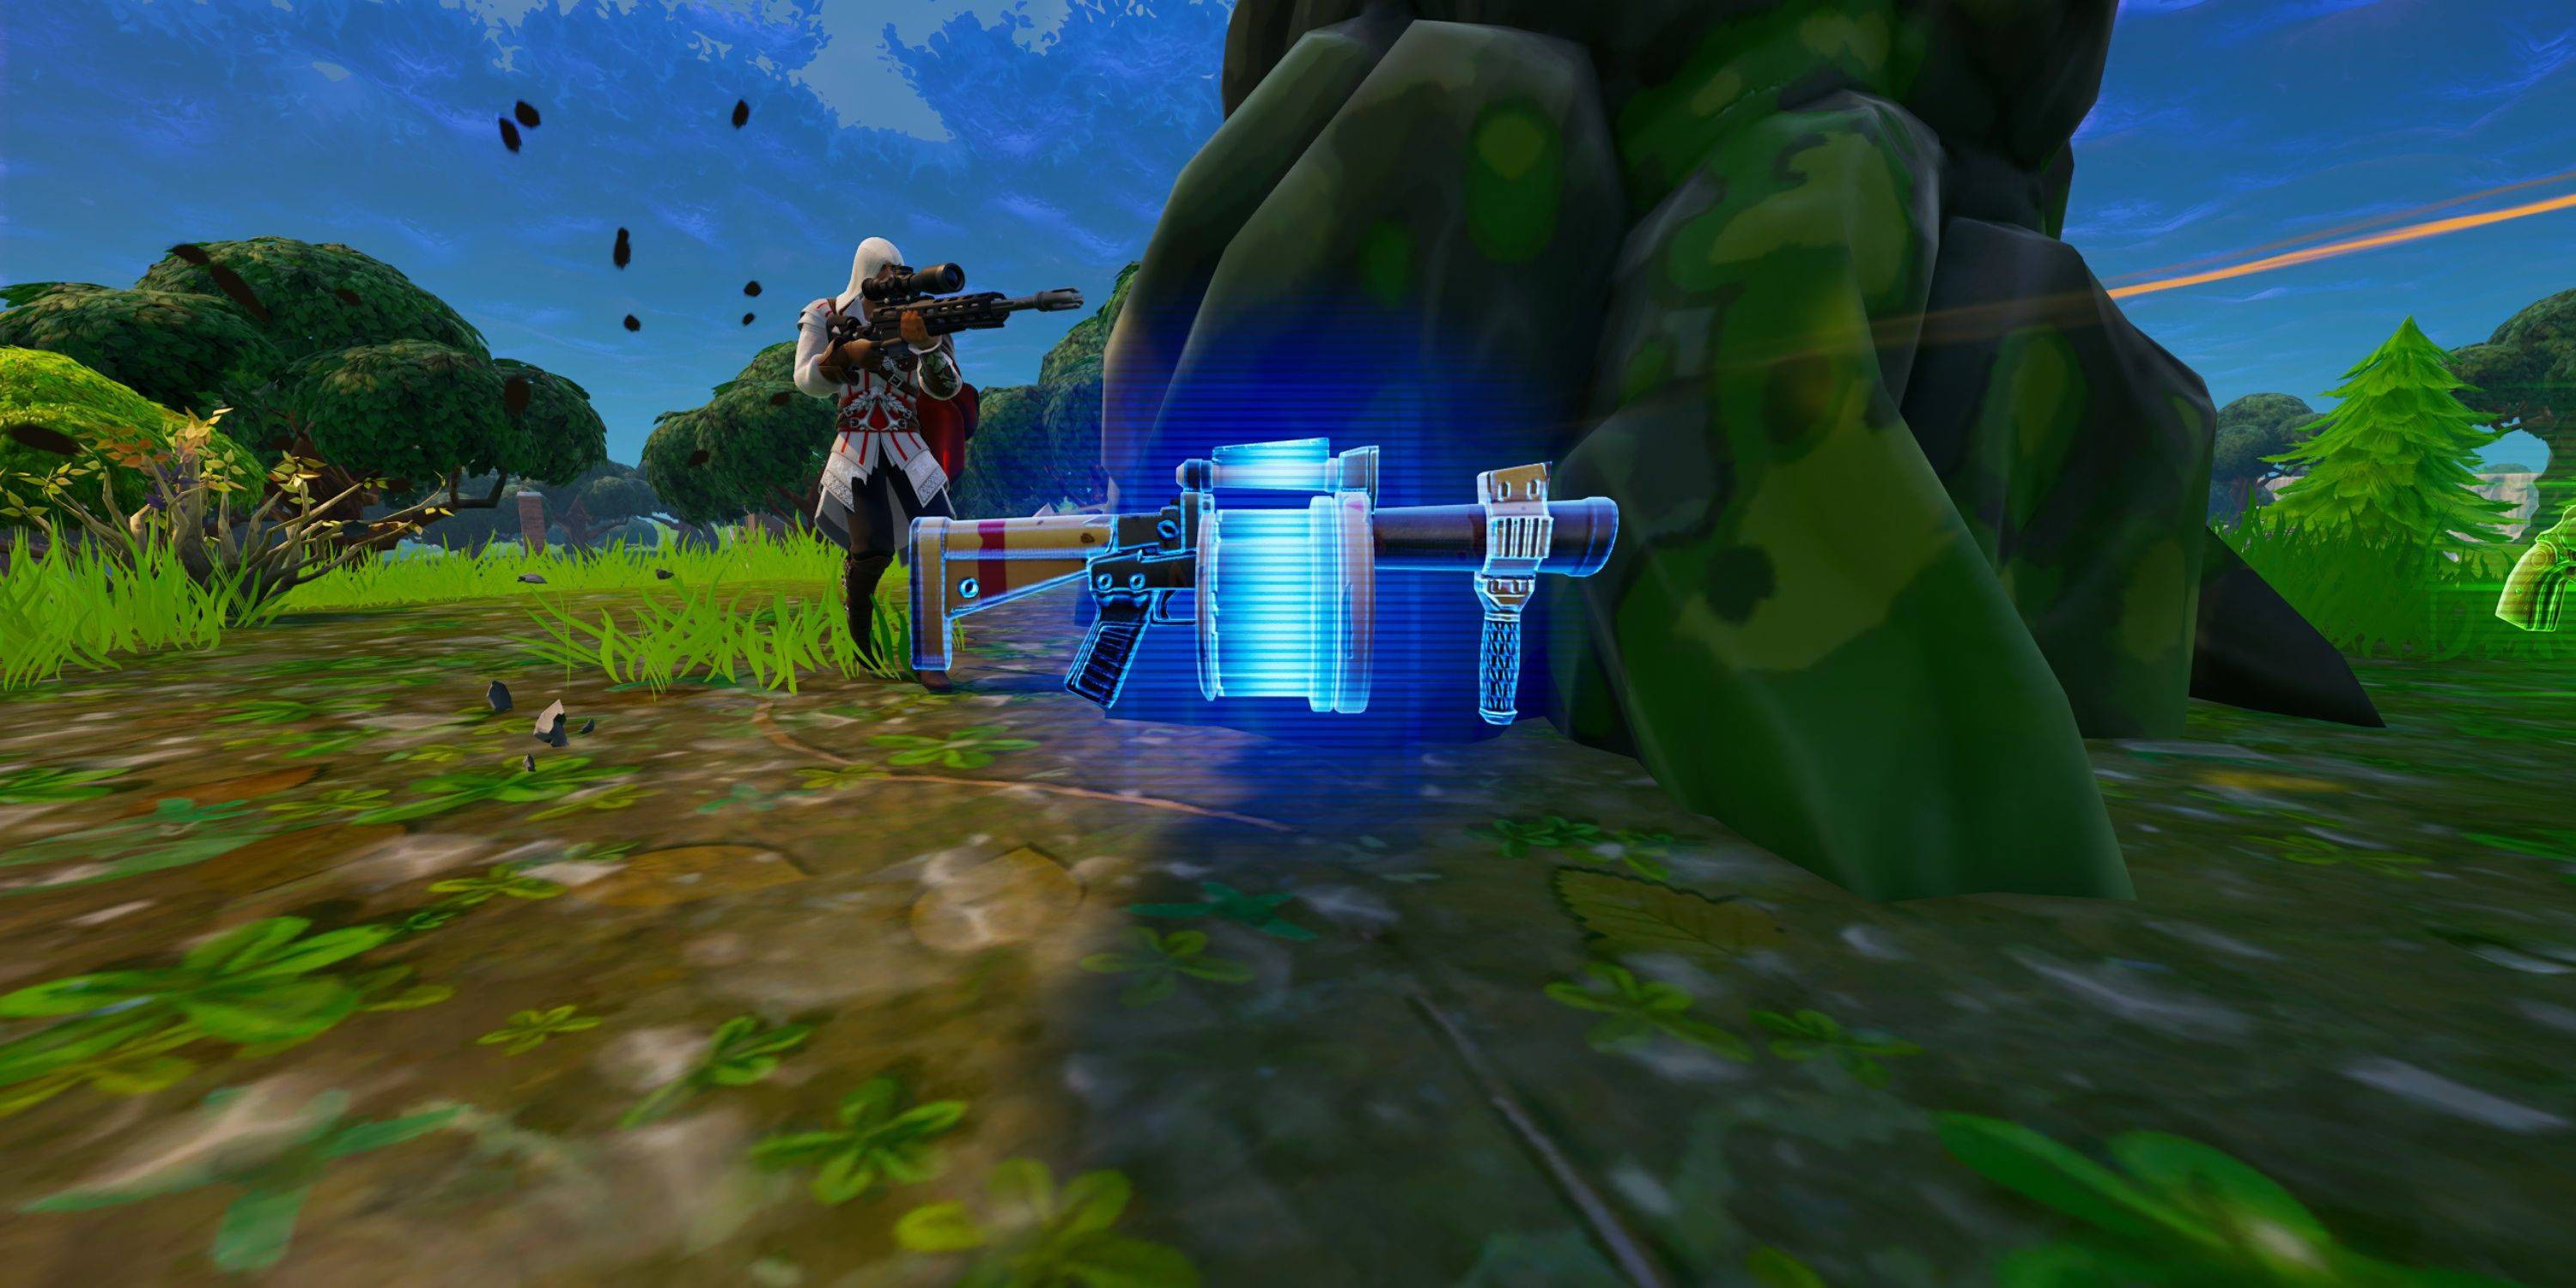
Explosives are effective for destroying structures and eliminating opponents.
Rocket Launcher
| Rarity |
Rare |
Epic |
Legendary |
| Damage |
100 |
115 |
130 |
| Magazine |
1 |
1 |
1 |
| Fire Rate |
0.75s |
0.75s |
0.75s |
| Reload Time |
3.60s |
3.06s |
2.52s |
| Structure Damage |
300 |
315 |
330 |
The Rocket Launcher's high damage and splash radius make it a powerful tool for eliminating structures and opponents.
Grenade Launcher
| Rarity |
Rare |
Epic |
Legendary |
| Damage |
100 |
105 |
110 |
| Magazine |
6 |
6 |
6 |
| Fire Rate |
1 |
1 |
1 |
| Reload Time |
3s |
2.8s |
2.7s |
| Structure Damage |
200 |
210 |
220 |
The Grenade Launcher allows for area denial and structure destruction.
Grenade
| Damage |
100 |
| Structure Damage |
375 |
| Stack Size |
6 |
Grenades are useful for eliminating cover and damaging opponents.
All Fortnite OG Traps
Traps offer defensive and offensive capabilities.
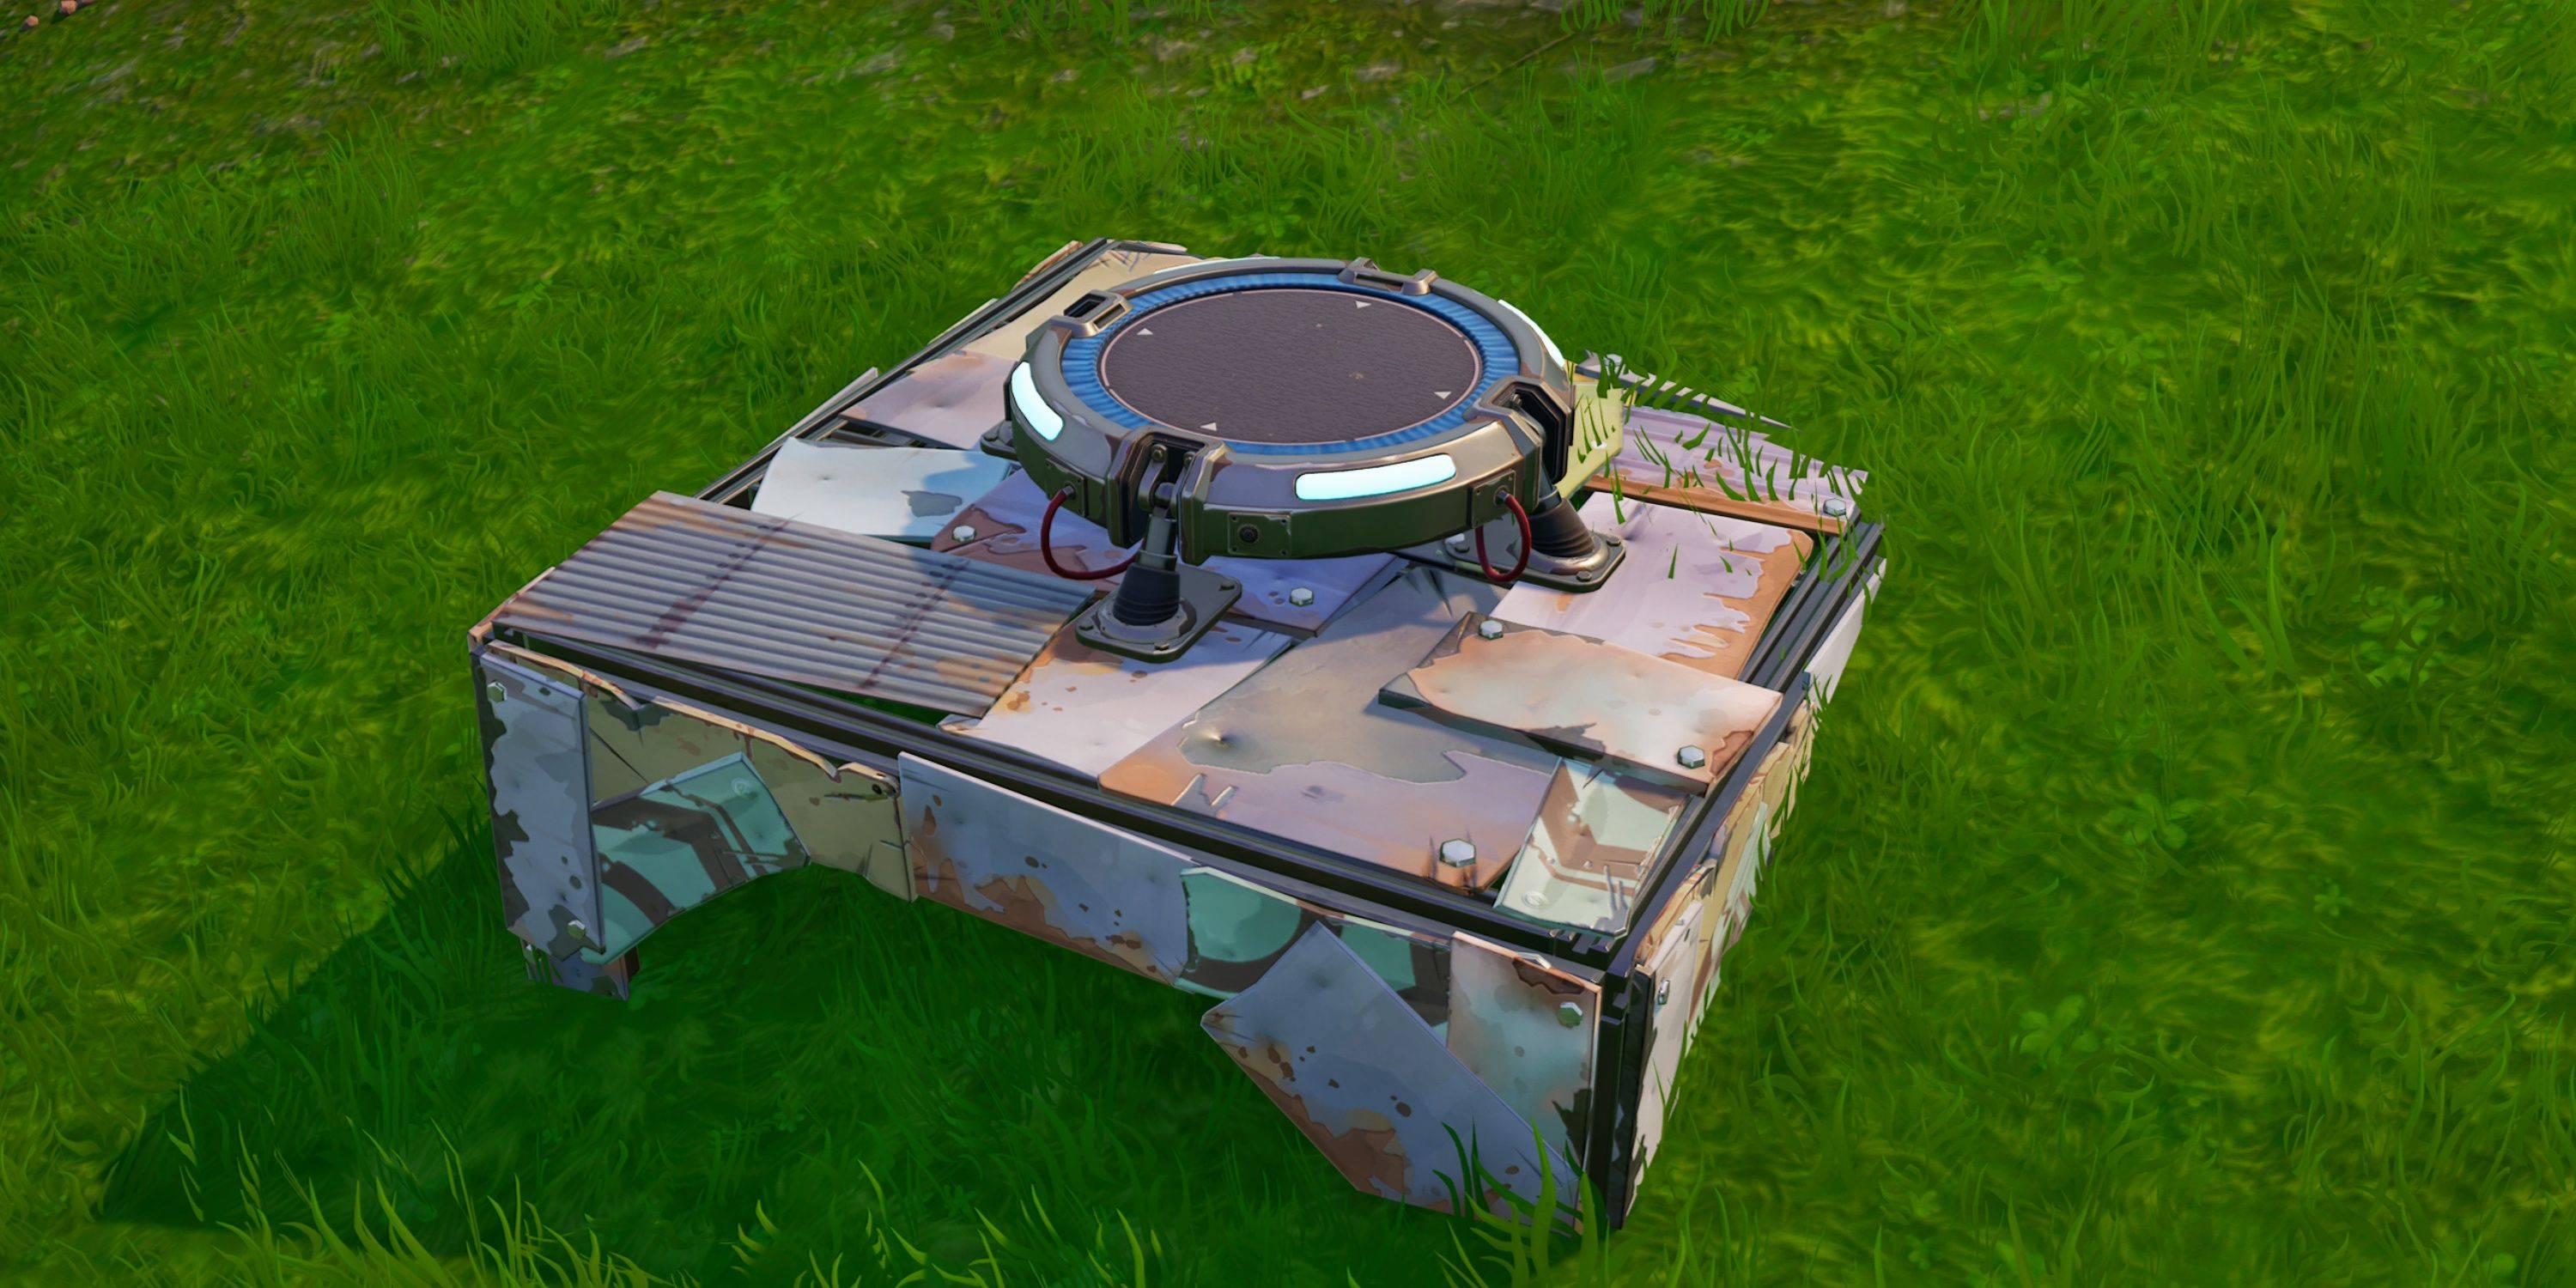
Launch Pad
Provides vertical mobility, useful for escaping or reaching high ground.
Ceiling Zapper
Electrocutes players who pass underneath.
Wall Dynamo
Similar to the Ceiling Zapper, but placed on walls.
Damage Trap
Deals damage to players who step on it.
Directional Jump Pad
Provides horizontal or vertical mobility, negating fall damage.
All Fortnite OG Consumables/Items
Consumables restore health and shields.
Bandage
| Health |
+15 |
| Stack Size |
15 |
| Time to Use |
3.5s |
Restores health quickly.
Med Kit
| Health |
+100 |
| Stack Size |
3 |
| Time to Use |
10s |
Restores a significant amount of health.
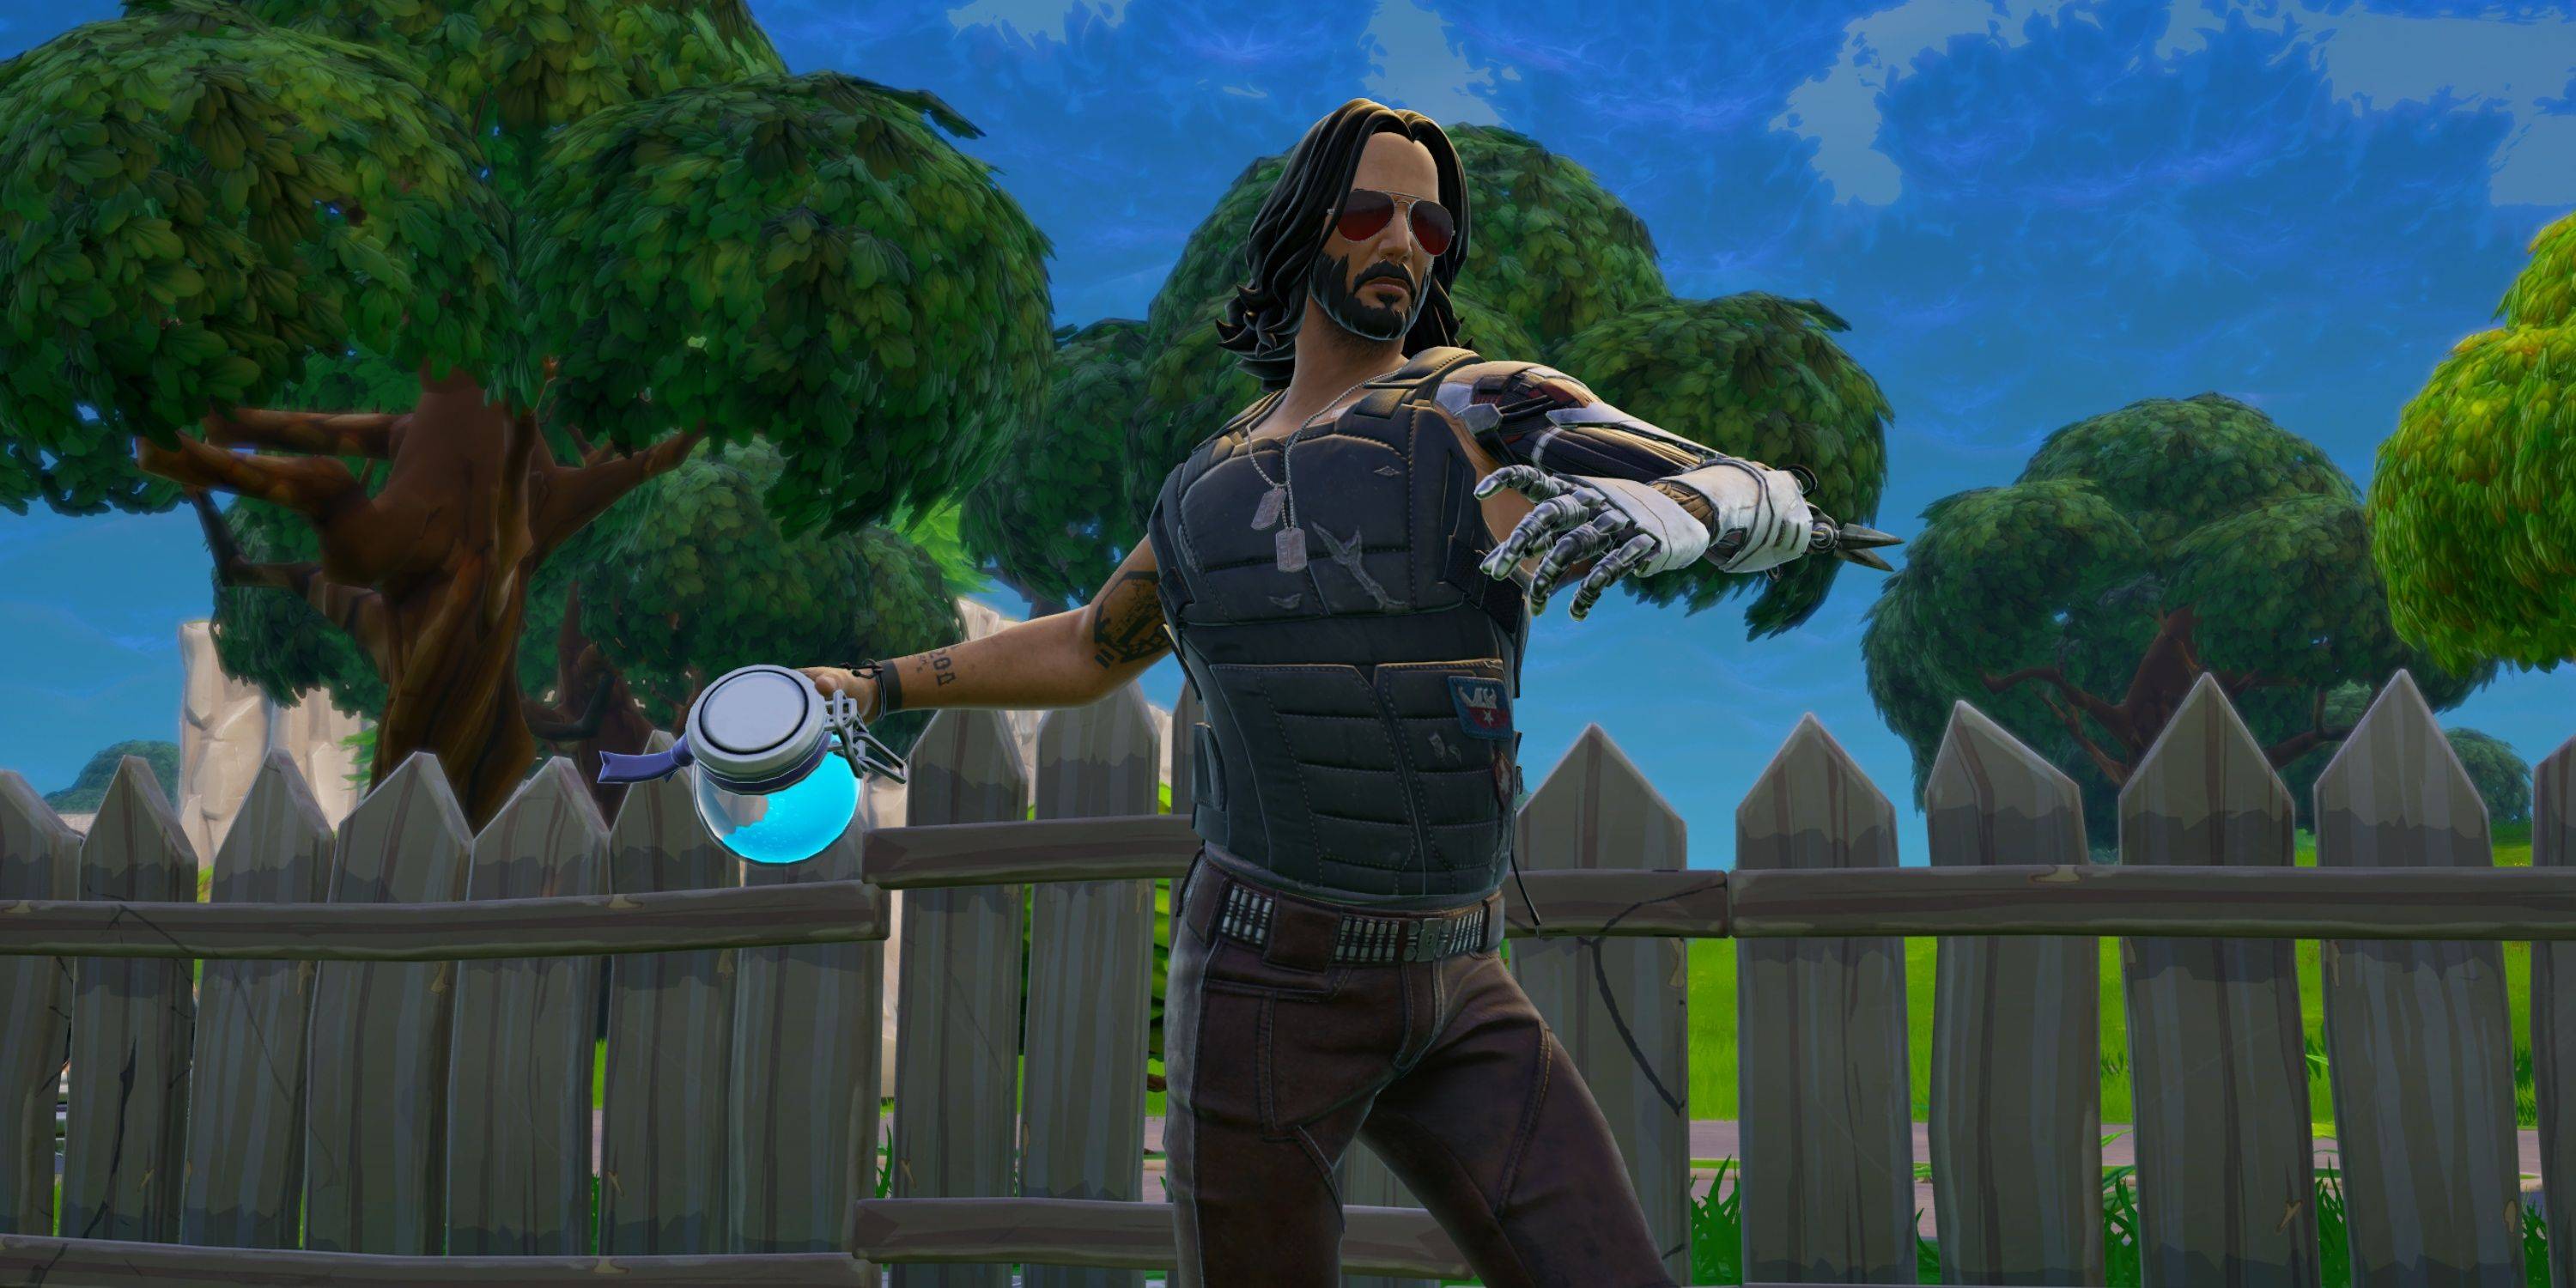
Shield Potion
| Shields |
+50 |
| Stack Size |
3 |
| Time to Use |
5s |
Restores shields.
Slurp Juice
| Health |
+75 |
| Shield |
+75 |
| Stack Size |
2 |
| Time to Use |
2s |
| Duration |
37.5s |
Restores both health and shields.
Bush
| Health |
+1 |
| Stack Size |
2 |
| Time to Use |
3s |
Provides camouflage.
Port-a-Bunker
| Stack Size | 4 |
Creates instant cover.
 LATEST ARTICLES